
Standard Travel widget: configuration
Here you can find details to how correctly configure the standard widget for travel merchants
How easy it is to render the travel version of Scalapay widget?Simply set the channel attribute to travel, all the other paramters must be configured according to contract terms (es. selectors, products that can be enabled, min and max amount) : visit the Set Configuration page to learn more
Settings
| Attribute | Suggested value | Description |
|---|---|---|
| channel | travel | The widget channel. Must be equal to travel to render the widget travel version |
Settings usage
Channel
channel='travel'Travel widget product and cart page - Full example
<!doctype html>
<html>
  <head>
    <title>Scalapay Widget Pay in 3</title>
    <script type="module" src="https://cdn.scalapay.com/widget/scalapay-widget-loader.js"></script>
  </head>
  <body>
    <div id="price-container">€ 100.00</div>
    <scalapay-widget
      channel='travel'
      type= 'product'
      frequency-number='30'
      number-of-installments='3'
      hide='false'
      hide-price='false'
      min='5'
      max='1500'
      amount-selectors='["#price-container"]'
      currency-position='before'
      currency-display='symbol'
      logo-size='100'
      locale='en'
    ></scalapay-widget>
  </body>
</html>
<!doctype html>
<html>
<head>
<title>Scalapay Widget Pay in 4</title>
<script type="module" src="https://cdn.scalapay.com/widget/scalapay-widget-loader.js"></script>
</head>
<body>
<div id="price-container">€ 100.00</div>
<scalapay-widget
channel='travel'
type= 'product'
frequency-number='30'
number-of-installments='4'
hide='false'
hide-price='false'
min='5'
max='1500'
amount-selectors='["#price-container"]'
currency-position='before'
currency-display='symbol'
logo-size='100'
locale='en'
></scalapay-widget>
</body>
</html>
Please noteThe channel and type attributes must be set according to the example above
The frequency-number and number-of-installments attributes pertain to the Scalapay products agreed in the contract, please check the contract to configure them (then refer to the above example)
The min and max attributes pertain to the contractual terms agreed with Scalapay, please check the contract to configure them (then refer to the above example)
All the other parameters must be configured according to your website characteristics and preferences
The only interactive element of the widget is the modal that allows more information about Scalapay.
Travel widget checkout - Full example
<!doctype html>
<html>
  <head>
    <title>Scalapay Widget Pay in 3</title>
    <script type="module" src="https://cdn.scalapay.com/widget/scalapay-widget-loader.js"></script>
  </head>
  <body>
    <div id="price-container">€ 100.00</div>
    <scalapay-widget
      channel='travel'
      type= 'checkout'
      show-title= "true"
      frequency-number='30'
      number-of-installments='3'
      hide='false'
      hide-price='false'
      min='5'
      max='1500'
      amount-selectors='["#price-container"]'
      currency-position='before'
      currency-display='symbol'
      logo-size='100'
      locale='en'
    ></scalapay-widget>
  </body>
</html>
<!doctype html>
<html>
<head>
<title>Scalapay Widget Pay in 3</title>
<script type="module" src="https://cdn.scalapay.com/widget/scalapay-widget-loader.js"></script>
</head>
<body>
<div id="price-container">€ 100.00</div>
<scalapay-widget
channel='travel'
type= 'checkout'
show-title= "true"
frequency-number='30'
number-of-installments='4'
hide='false'
hide-price='false'
min='5'
max='1500'
amount-selectors='["#price-container"]'
currency-position='before'
currency-display='symbol'
logo-size='100'
locale='en'
></scalapay-widget>
</body>
</html>
Please noteThe channel and type attributes must be set according to the example above
The frequency-number and number-of-installments attributes pertain to the Scalapay products agreed in the contract, please check the contract to configure them (then refer to the above example)
The min and max attributes pertain to the contractual terms agreed with Scalapay, please check the contract to configure them (then refer to the above example)
All the other parameters must be configured according to your website characteristics and preferences
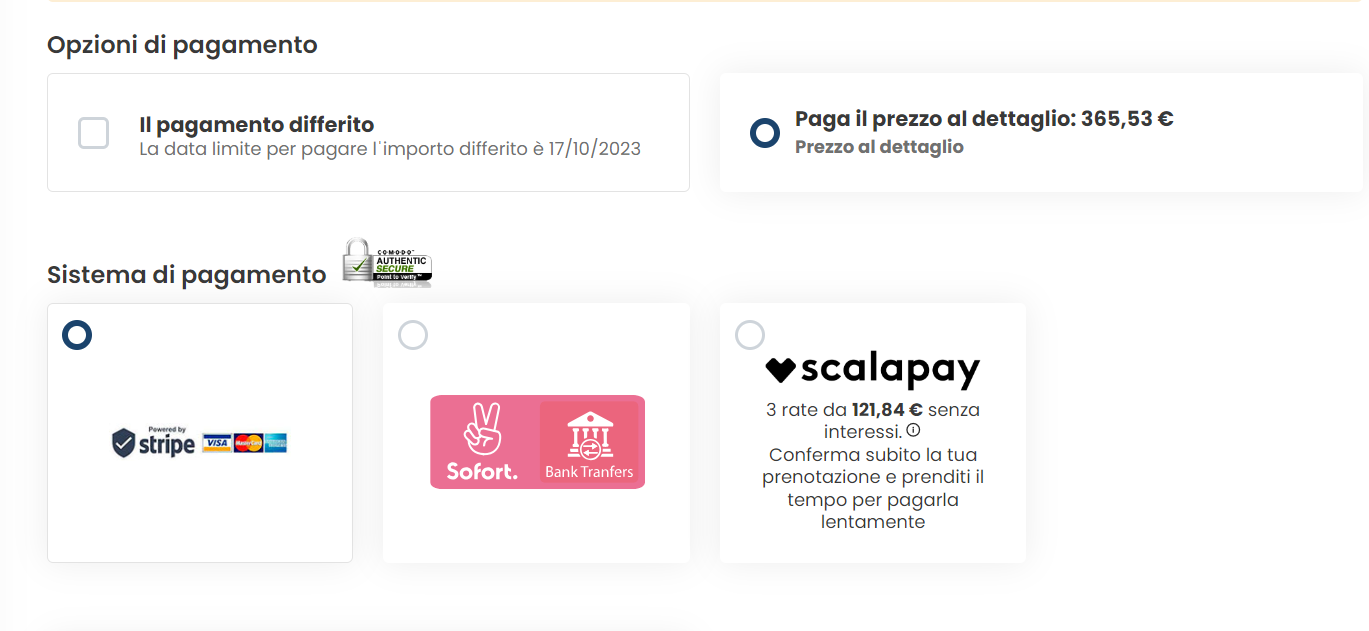
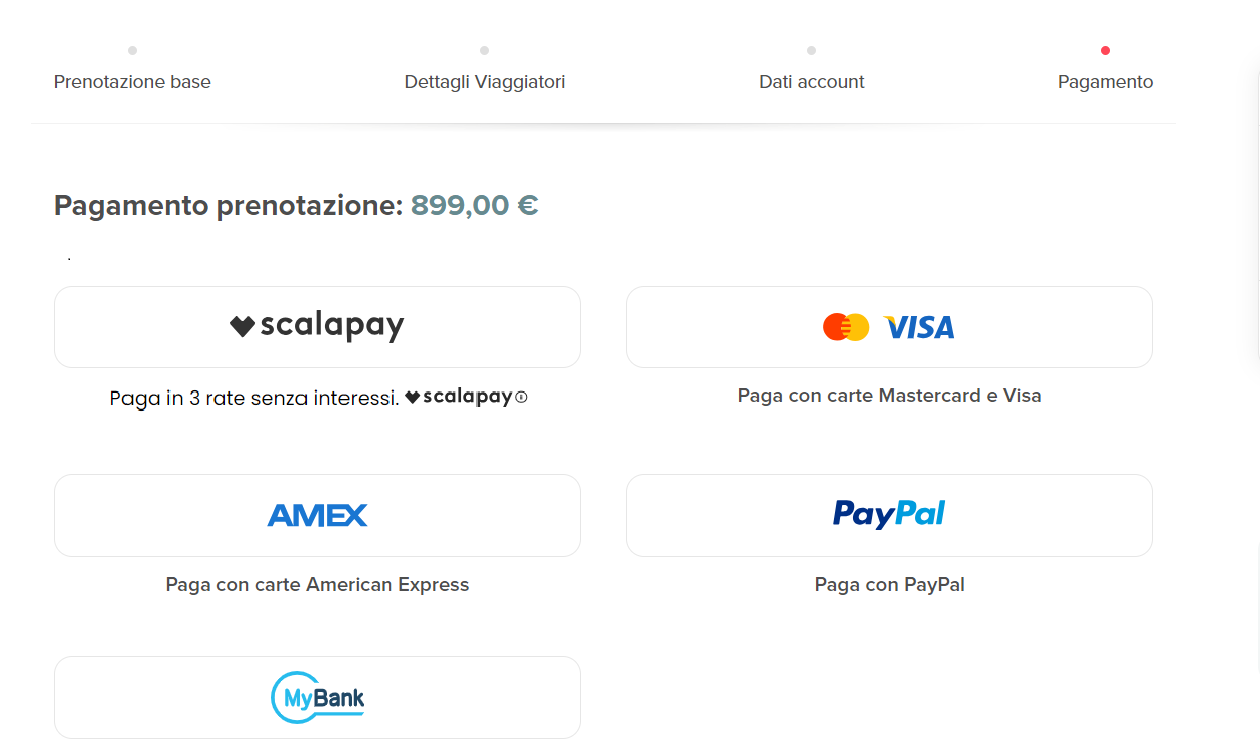
At checkout, Scalapay should be presented next to the other payment methods.
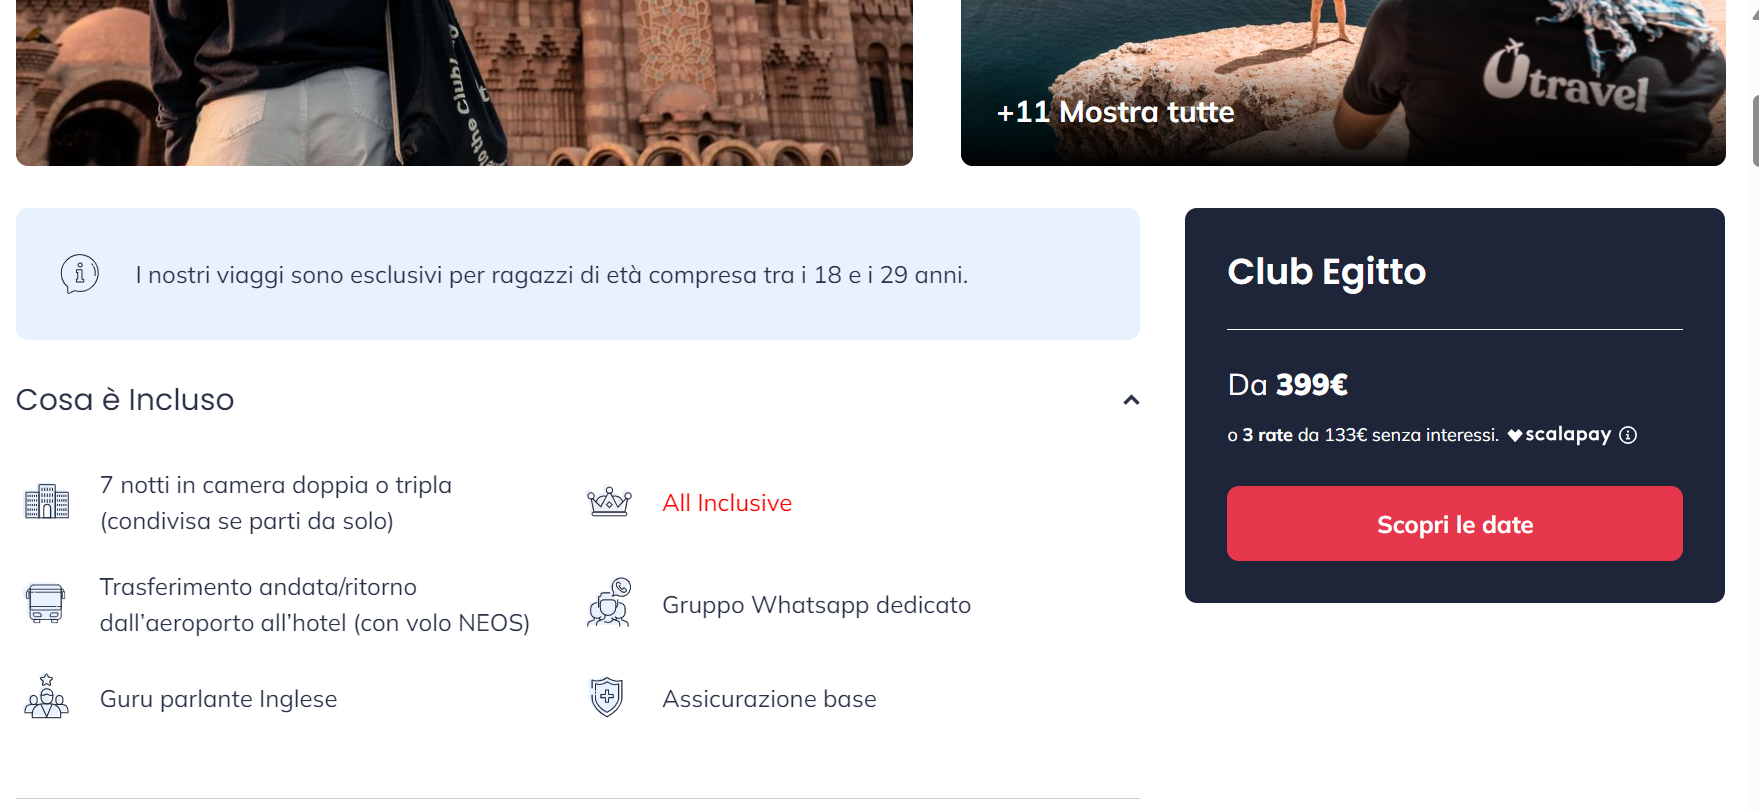
Best practices
Product page/Listing page
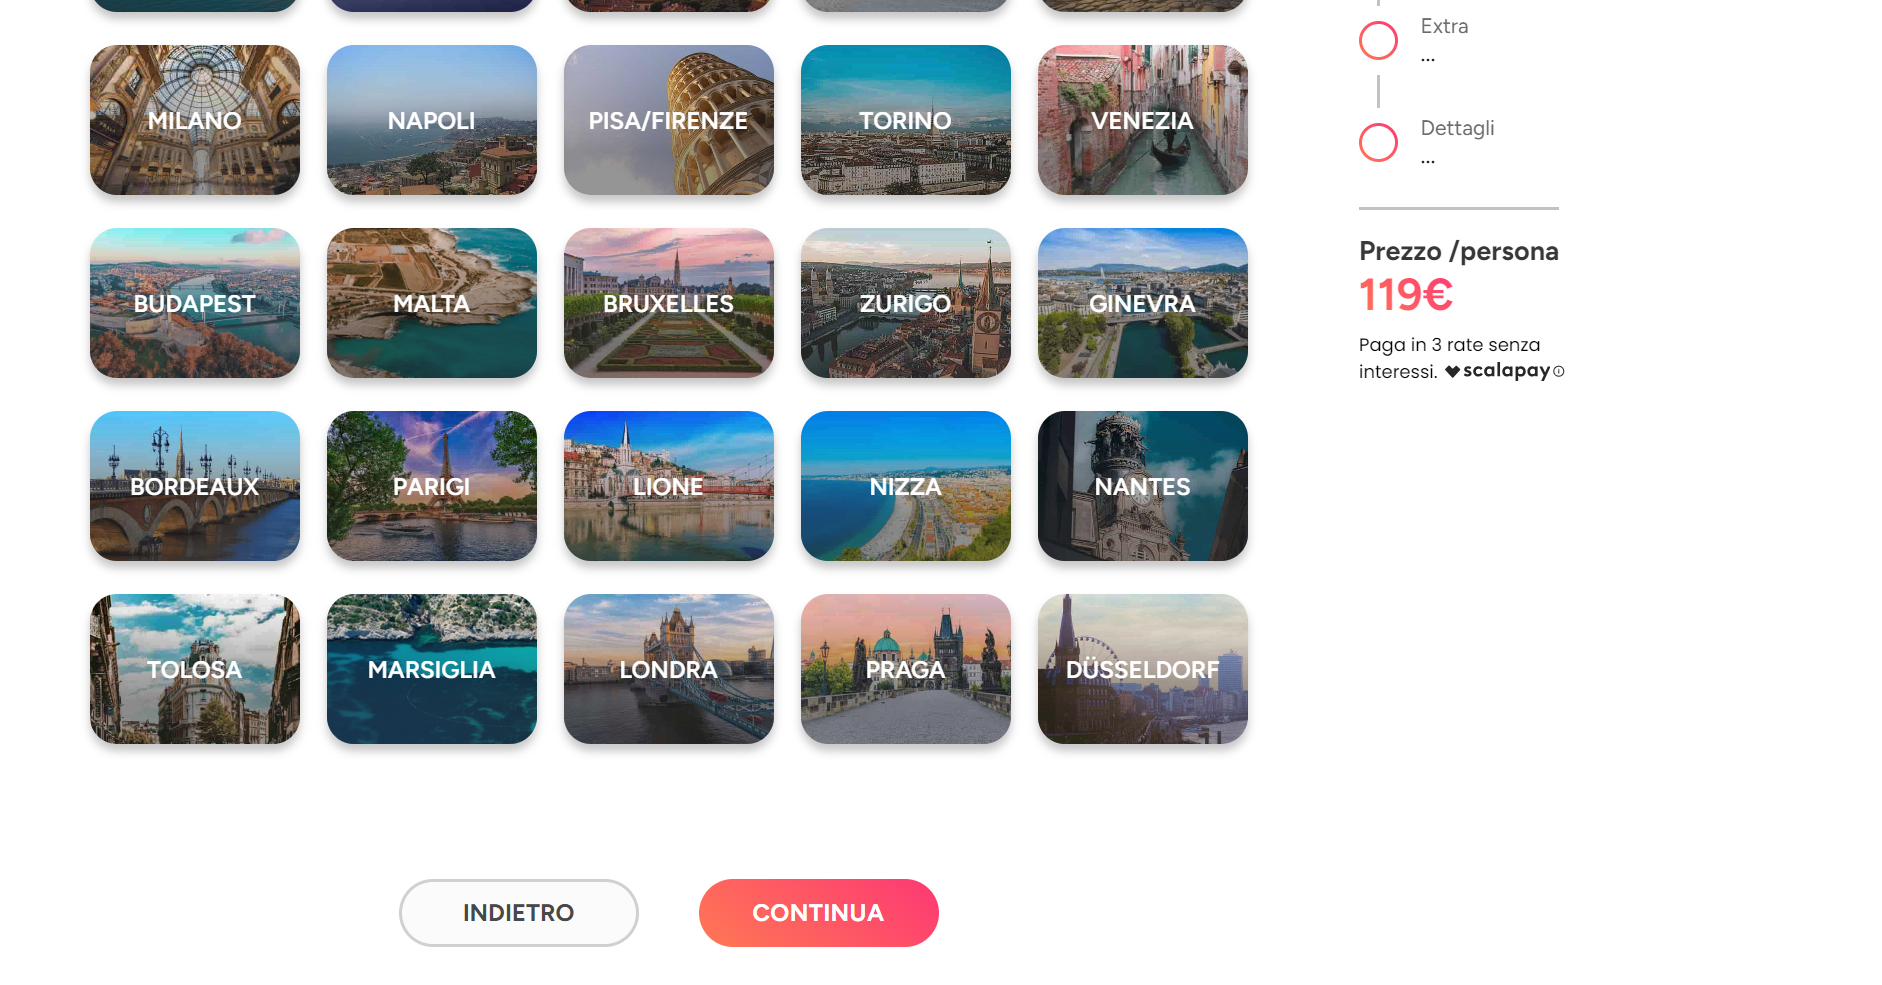
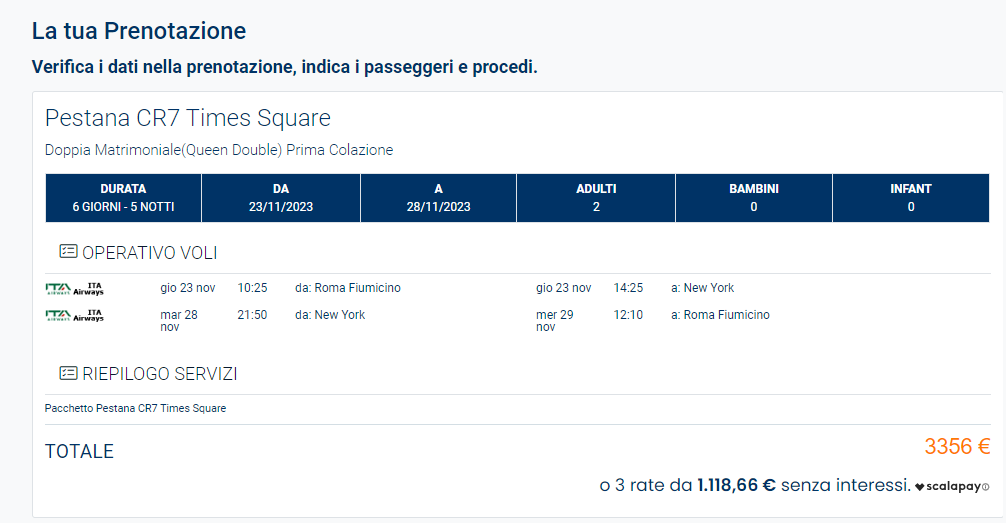
Cart page/Recap page

Checkout page
ImportantIf you agreed with Scalapay to offer more than one Scalapay product to your customers, please make sure the widget is installed and configured correctly
Ex. Pay in 3 from 5 to 899 euros and Pay in 4 from 900 to 1500 euros
Widget in product page/listing page and cart page/summary page must be installed twice and the following parameters need to be configured. In checkout 2 Scalapay payment methods must be created and the widget installed and configured as follow.
WIDGET 1
- number-of-installment = 3
- min 5
- max 899
WIDGET 2
- number-of-installment = 4
- min 900
- max 1500
Updated 5 months ago