
VTEX
This document outlines the configuration and integration steps for two separate components of the Scalapay VTEX integration: the Widget App and the Payment App.
Widget App
To integrate the Scalapay Widget on your cart and product pages, follow the two steps below.
Install and configure the app
-
Install the scalapay.scalapay-widget app in your VTEX account.
vtex install [email protected] -
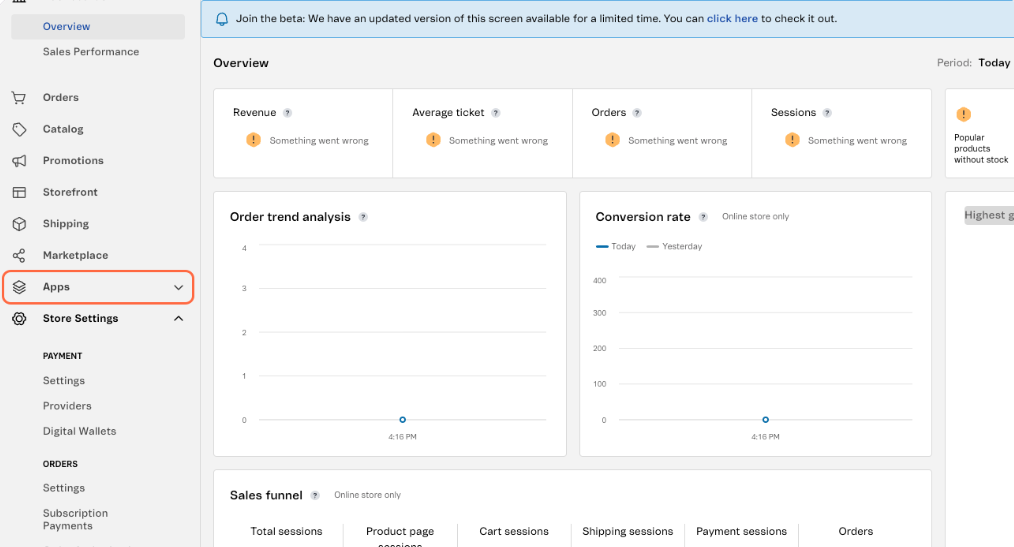
Open your VTEX Admin Panel (Back Office) and go to Apps.

-
Go to App Management.
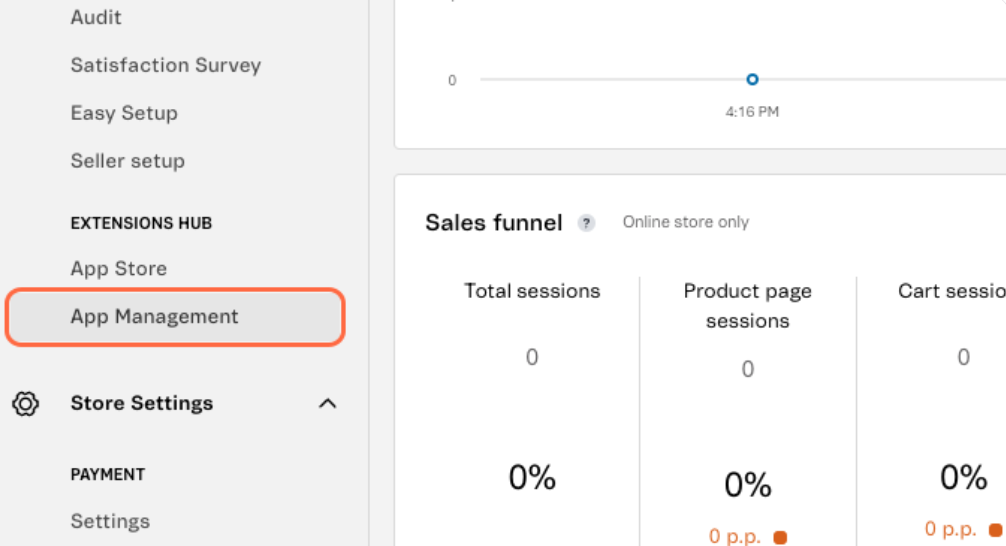
-
Search for Scalapay Widget and open Settings.
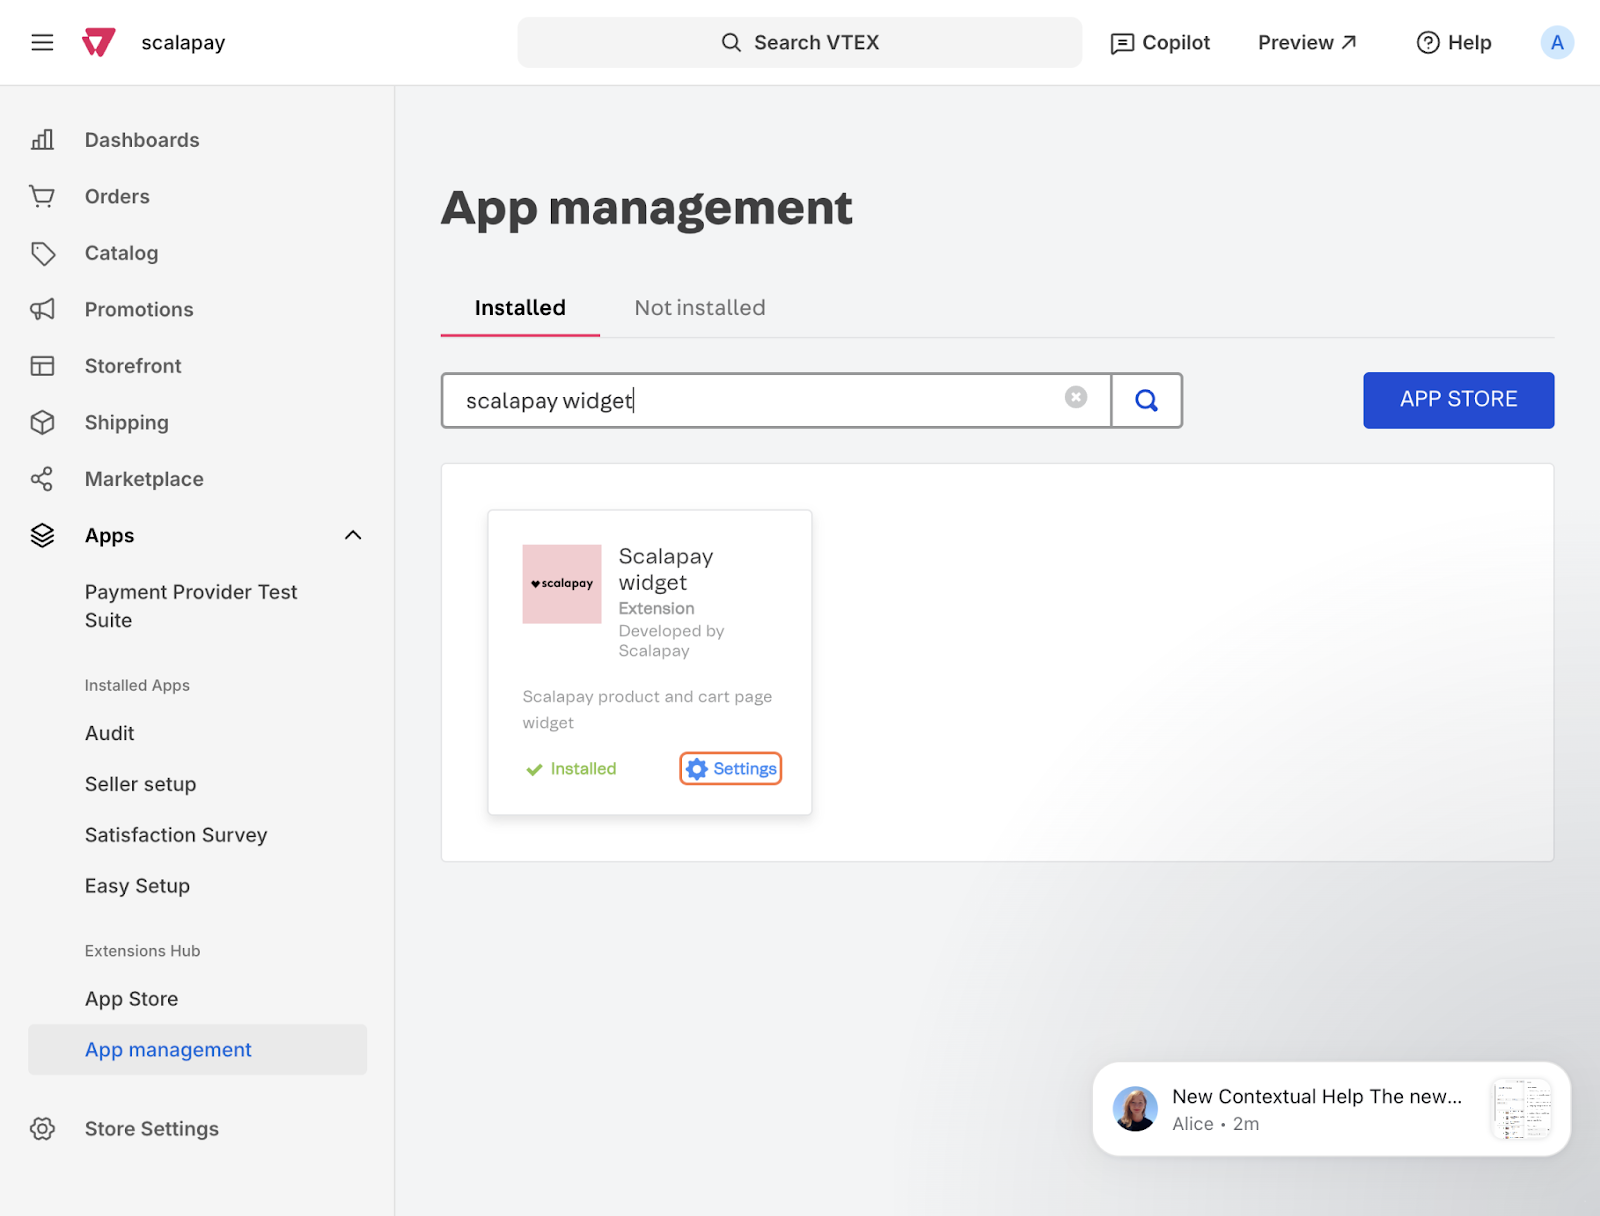
-
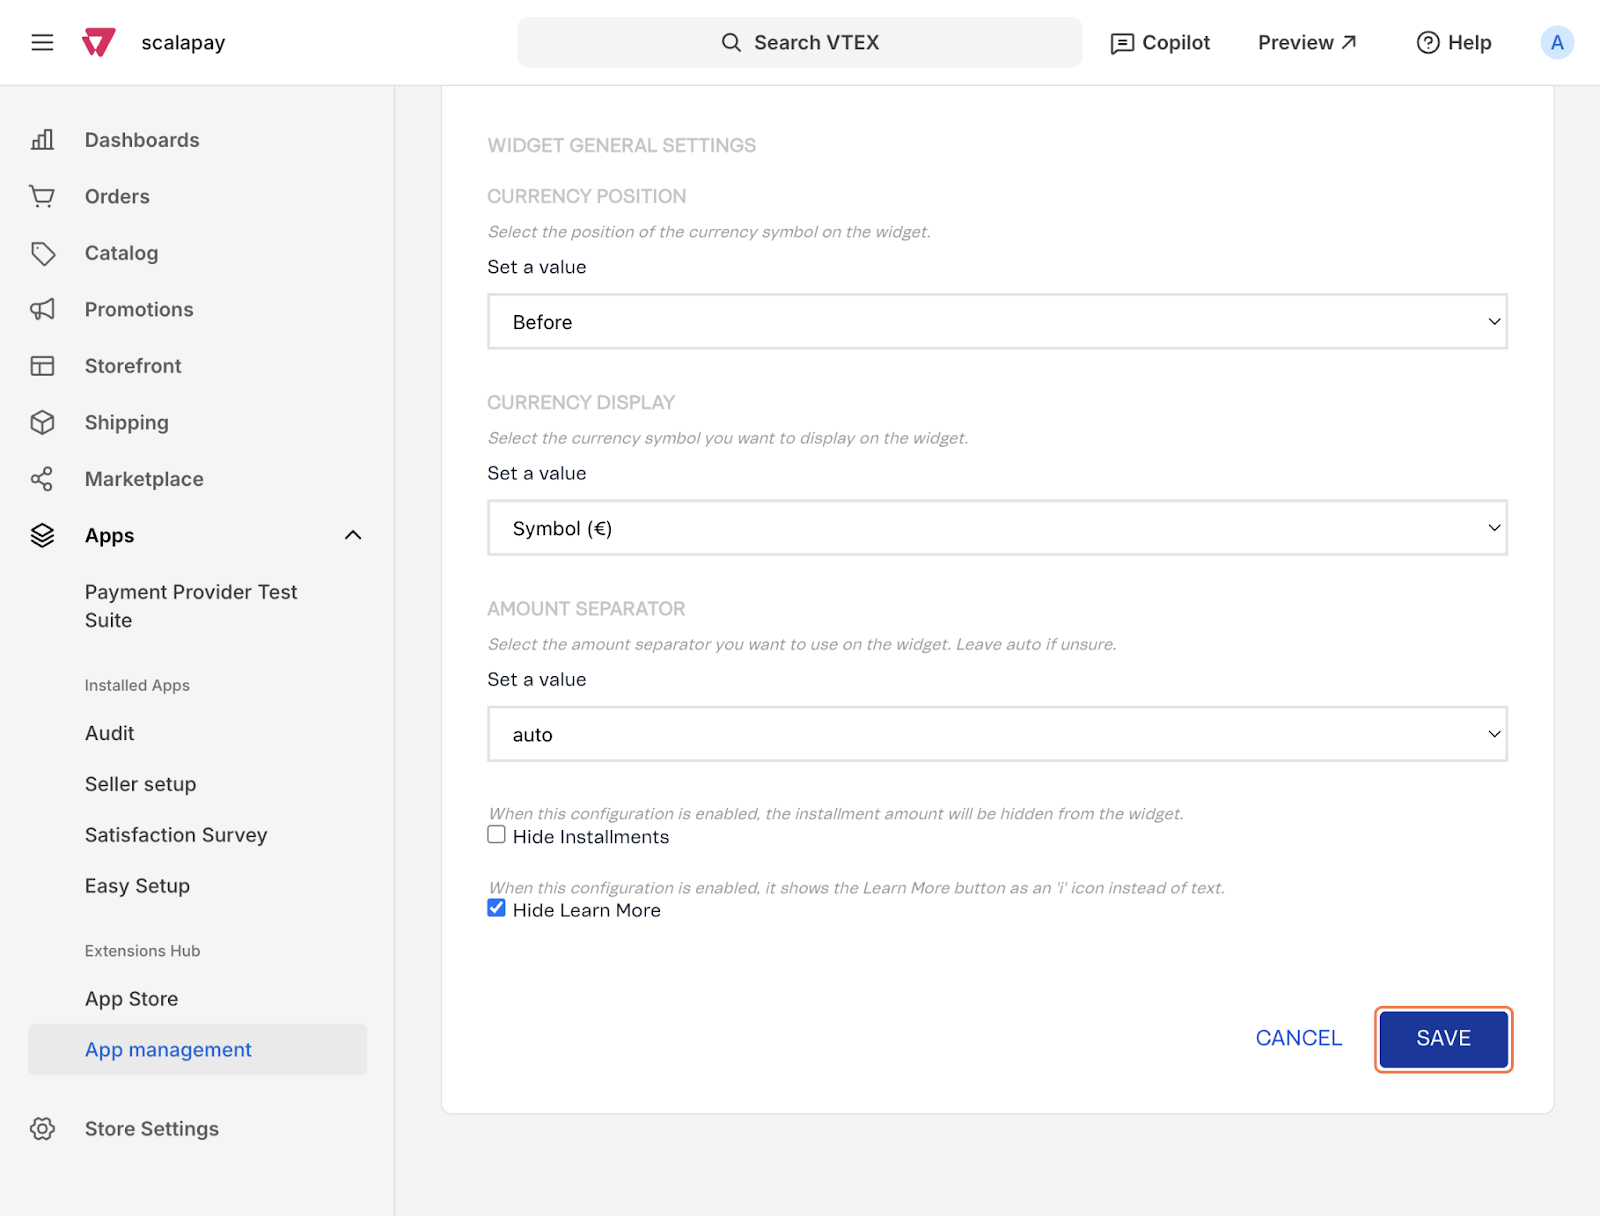
Configure the general settings with your data, as well as the cart and product page settings.
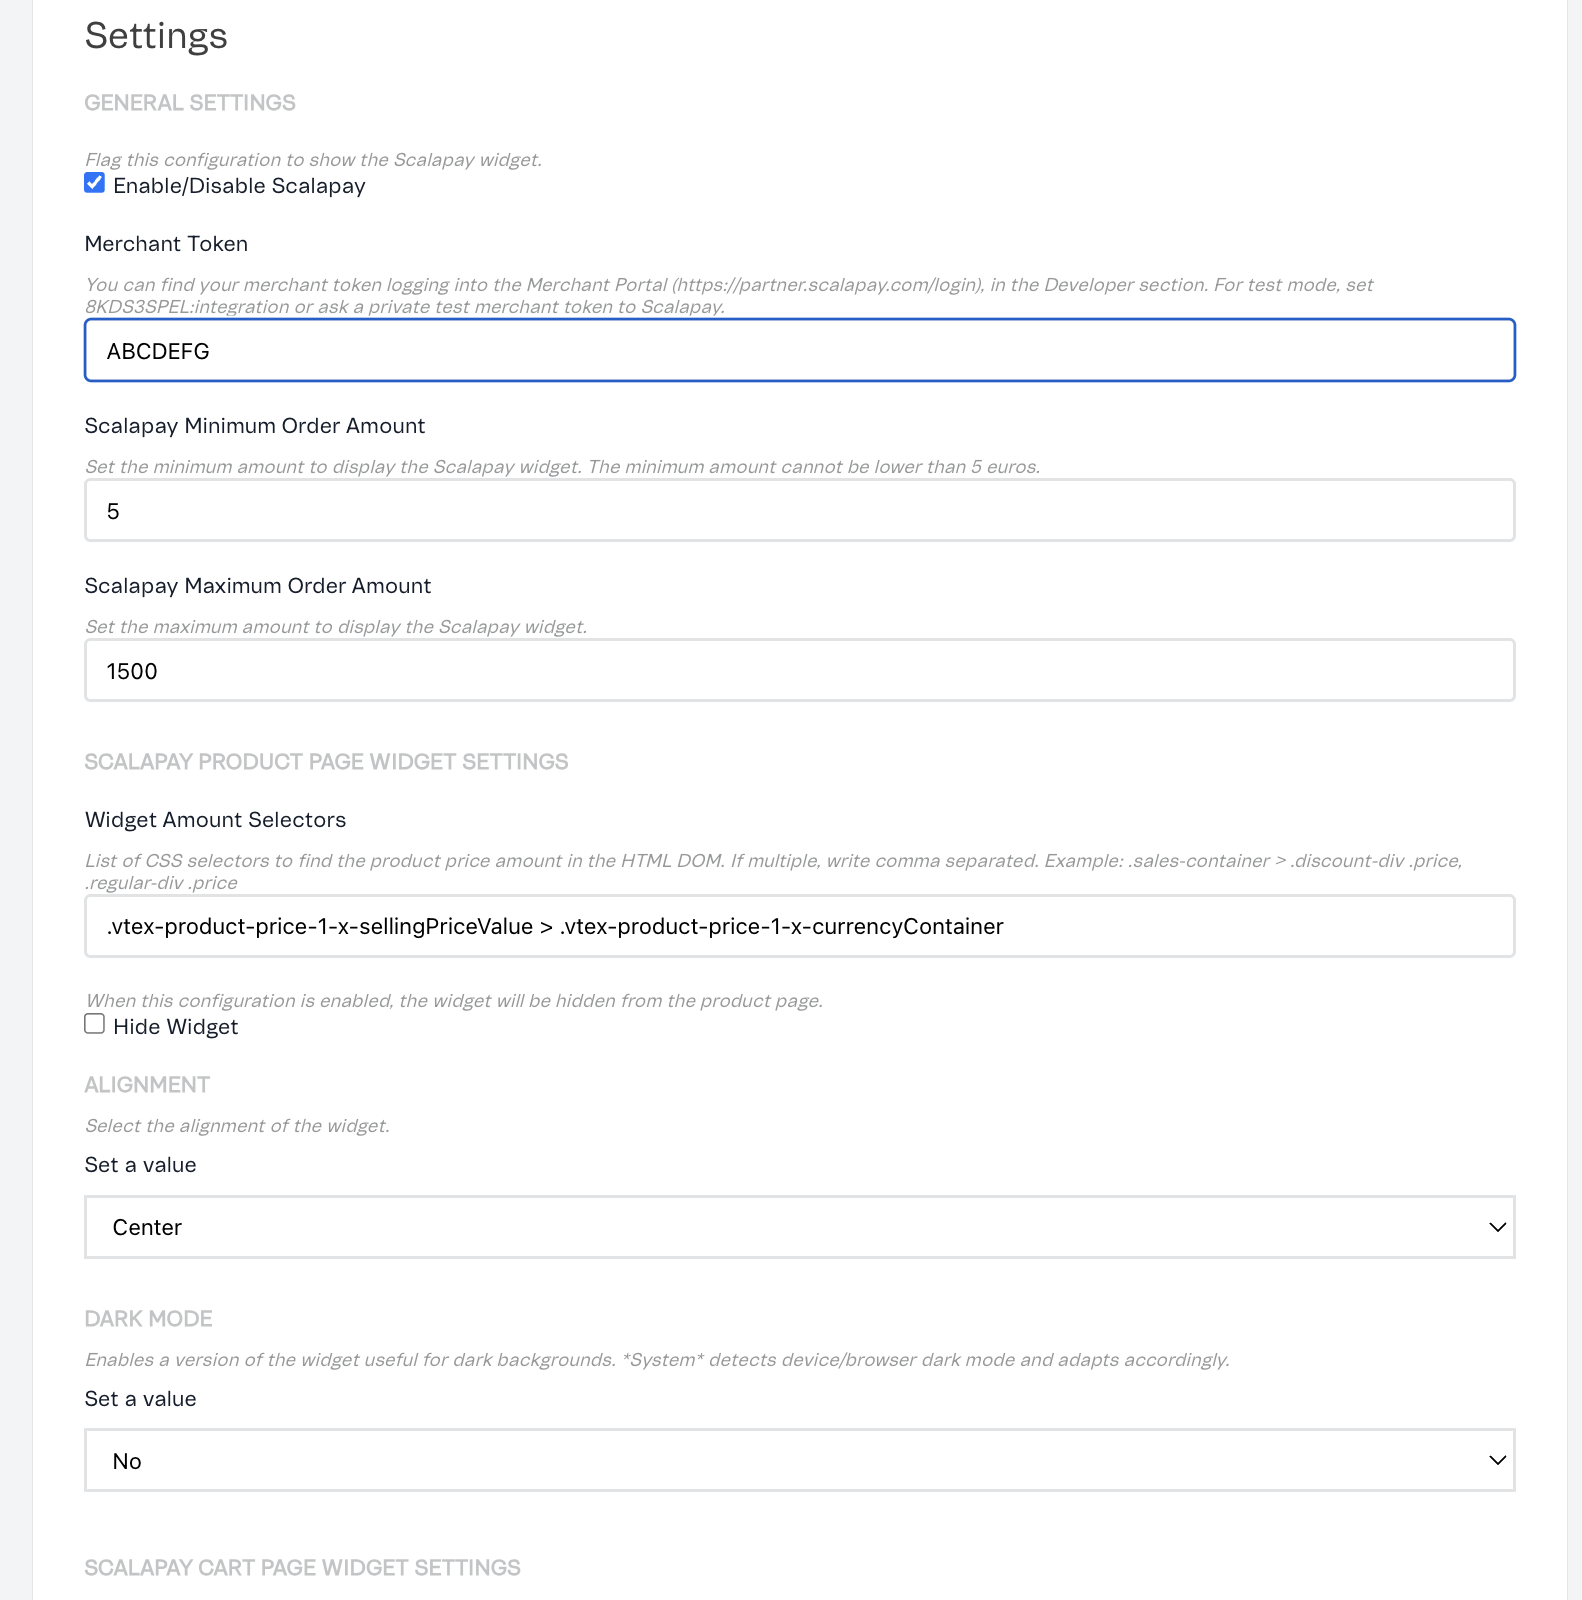
-
Click Save.
Add the scalapay-widget components in your theme
Once installed and configured, the Scalapay Widget app allows you to add Scalapay widget components to your store theme.
Refer to the VTEX documentation for a detailed guide on how to add the scalapay-product-page-widget and scalapay-cart-page-widget components to your store theme blocks: https://developers.vtex.com/docs/apps/scalapay.scalapay-widget.
Product Page

Cart

Payments App
The installation of Scalapay on a VTEX site requires a few mandatory steps.
Set up the Scalapay Payment Provider in VTEX
Configure the Payment Provider settings
Set up the Frontend Payment Conditions
Set up the Scalapay Payment Provider in VTEX
To integrate Scalapay, you need to follow the steps below.
- Install the scalapay.scalapay-connector App on your VTEX account.
vtex install [email protected]
- Go to your VTEX Admin Panel (Back Office) and go to Apps.
- Go to App Management.

- Search for Scalapay Connector and click on Settings.

- Enter your Live API Key.
- Configure the app using your live API key. If you want to test the integration in your staging environment, use the test API key and enable test mode.
- Enable delay mode only if this has been explicitly agreed with Scalapay.
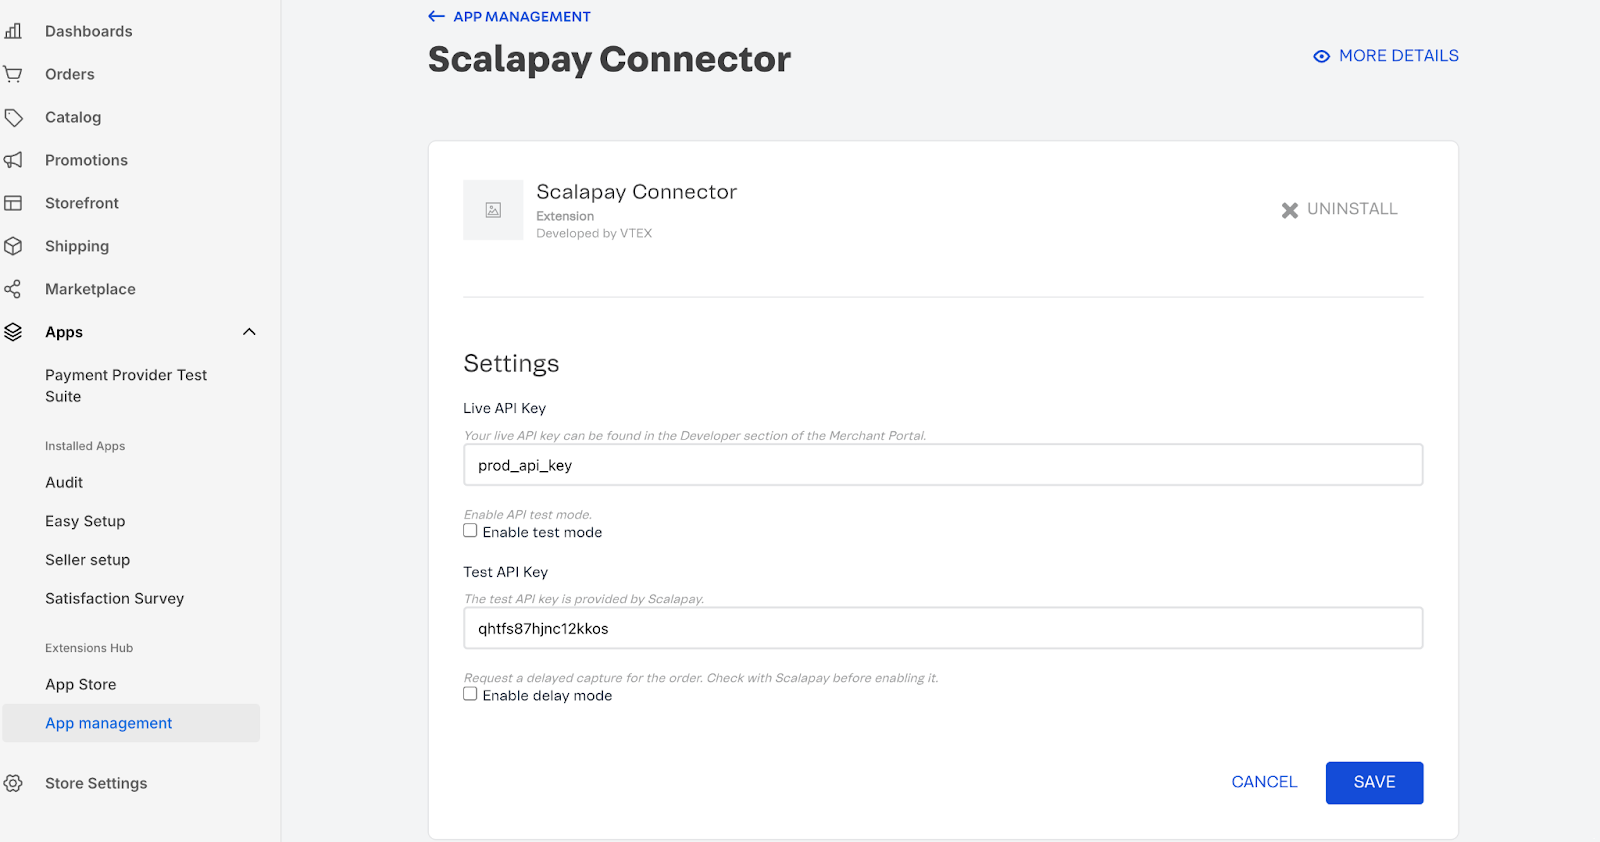
- Click Save to apply the changes.
IMPORTANTHow to find your Live API key
- Log in to the Scalapay Merchant Portal.
- Go to the Developer section of your account.
- Copy your Live API key (it starts with sp_).
- This key is required to connect your VTEX store to Scalapay in production mode.
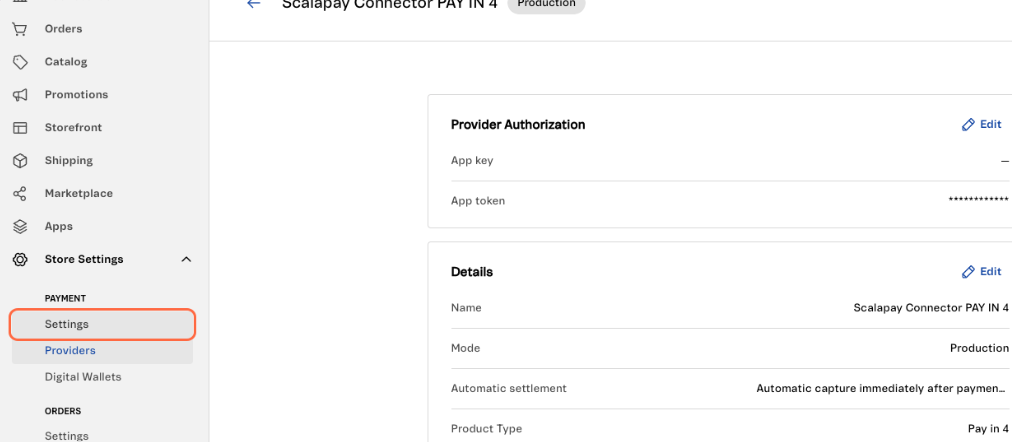
Configure the Payment Provider settings
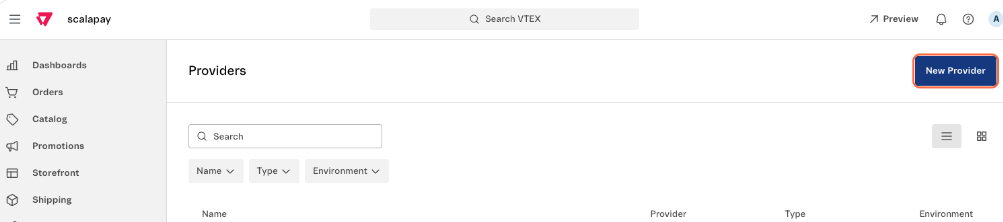
Go to your Back Office:
- Navigate to Store Settings > Payment > Providers and click the New Provider button.
- Search for Scalapay Connector and add it.
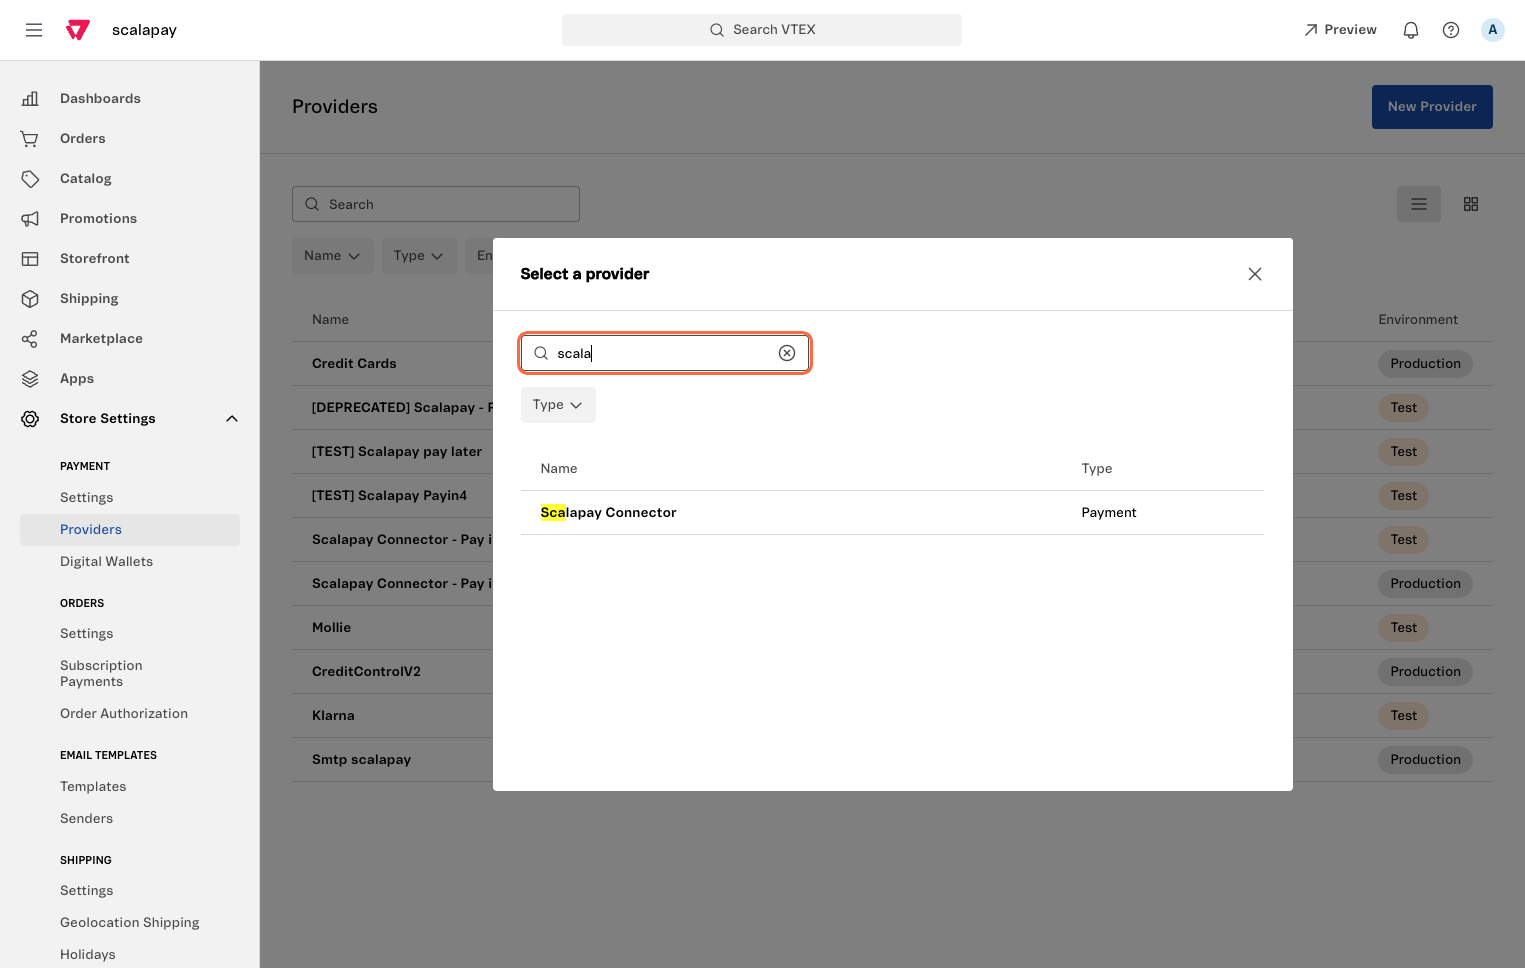
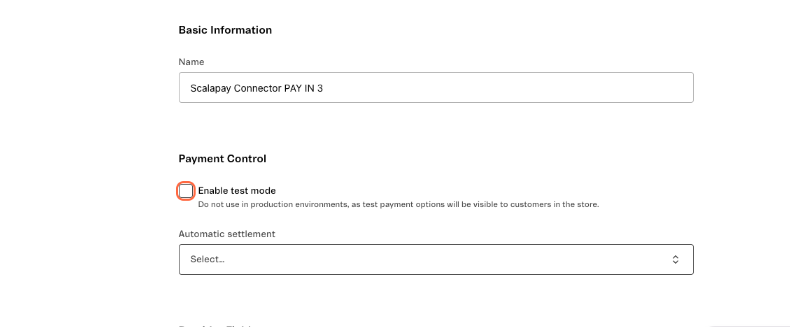
- Set the provider name, for example "Scalapay Connector" or "Scalapay Payments":
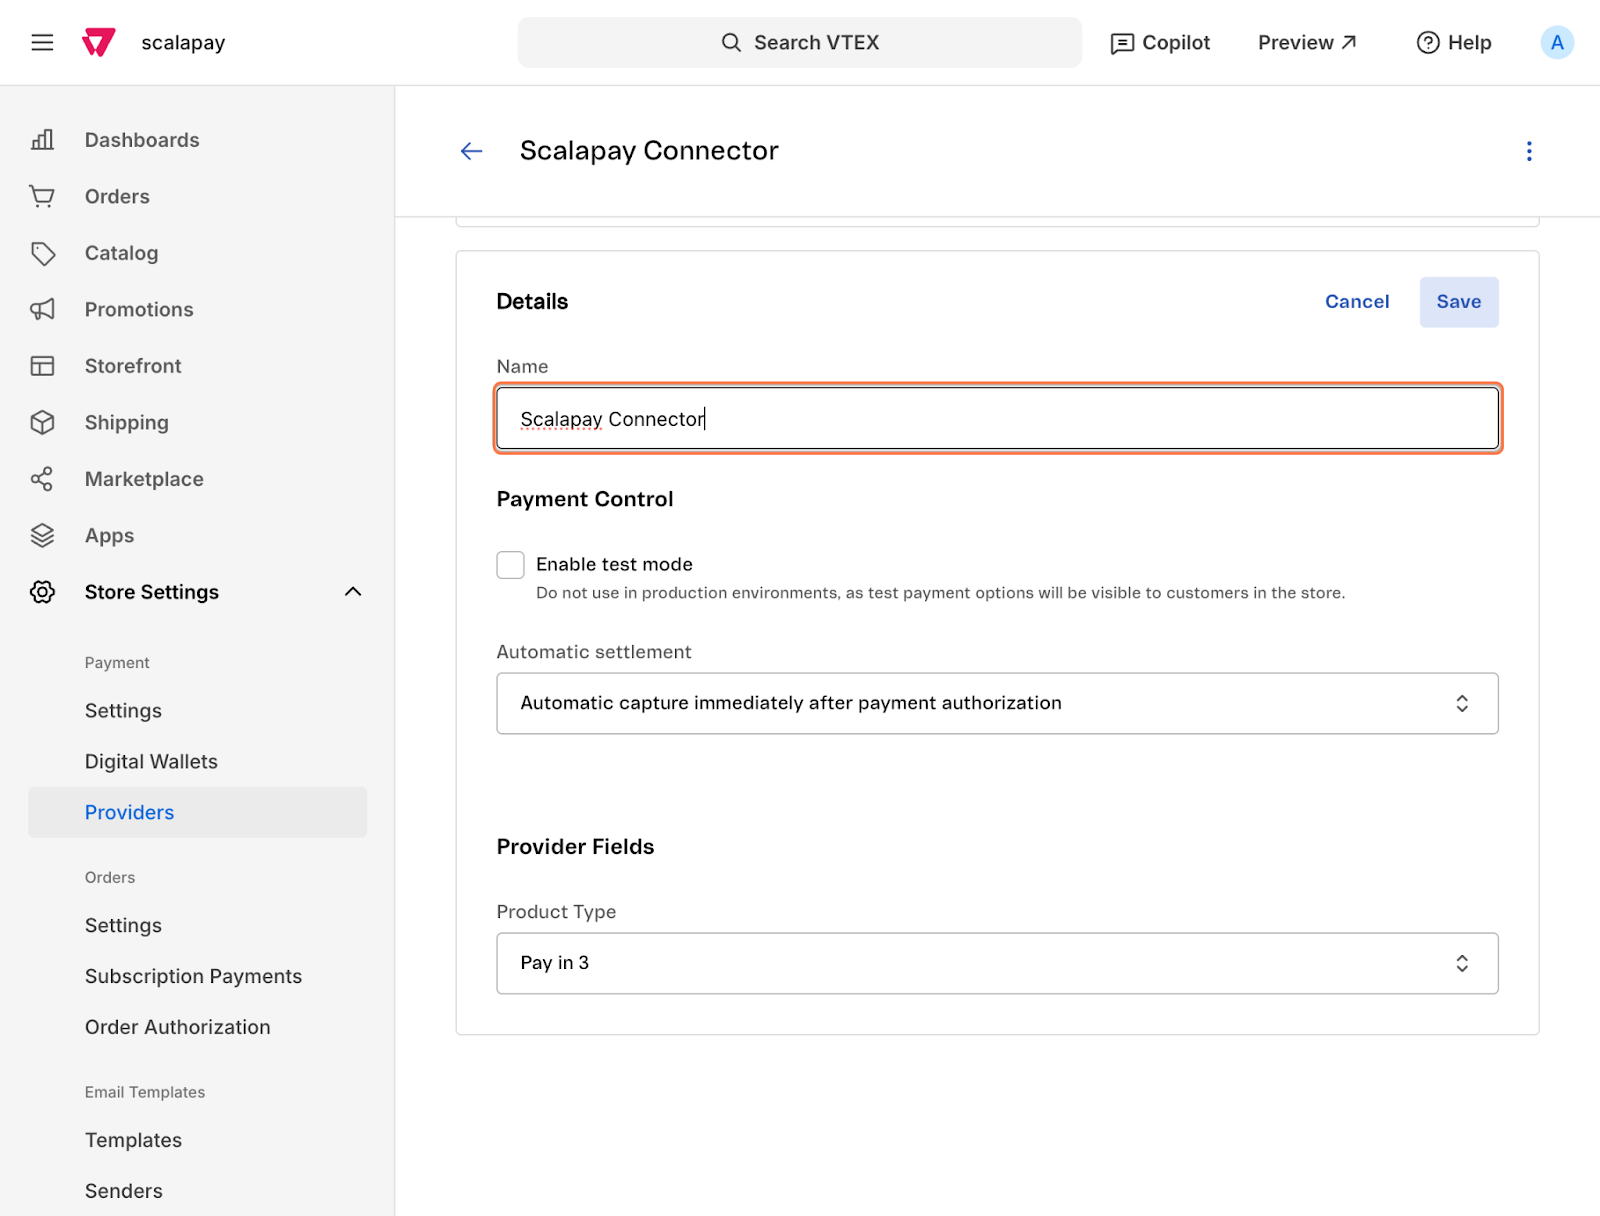
- Uncheck "Enable test mode". Test mode is managed through the app settings in App Management.
-
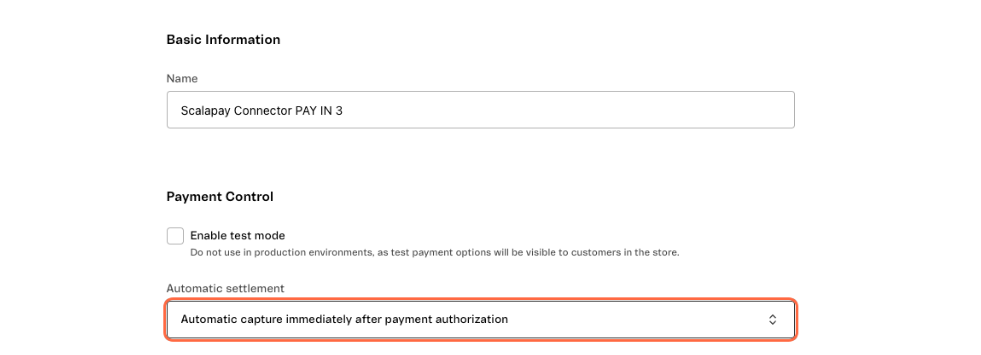
Under Automatic settlement, select "Automatic capture immediately after payment authorization"
If delay mode is enabled in the App Management section, set "Automatic settlement" to disabled.
- Under Product Type, choose Pay in 3.
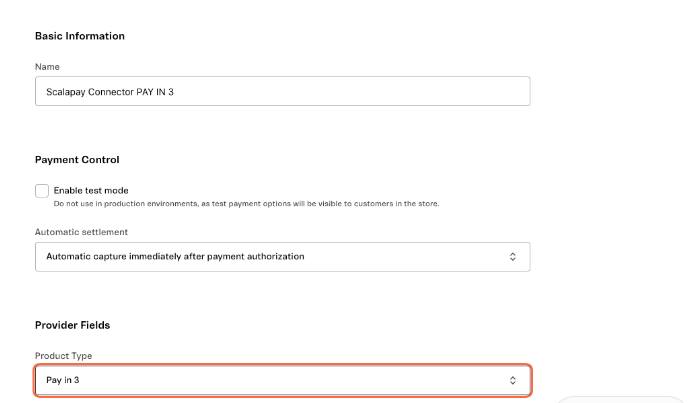
- Click Save to apply the settings.
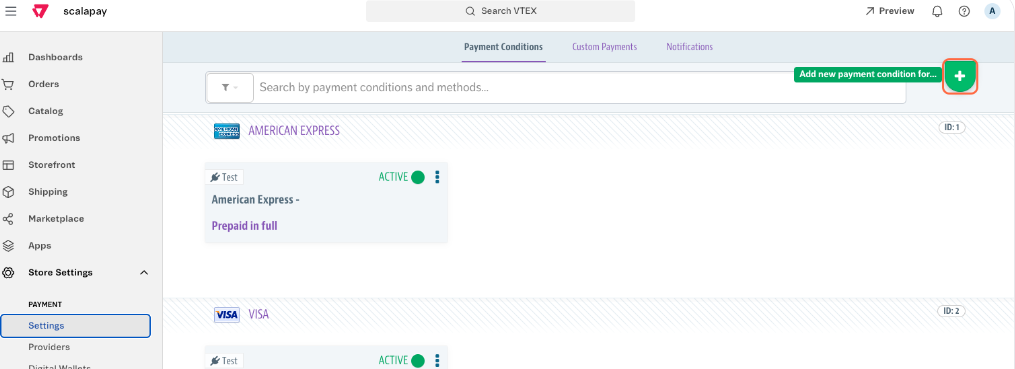
Set up the Frontend Payment Conditions
To set up the payment conditions for the frontend, follow these steps:
- Go to Store Settings > Payment > Settings.
- Click Add new payment condition for.
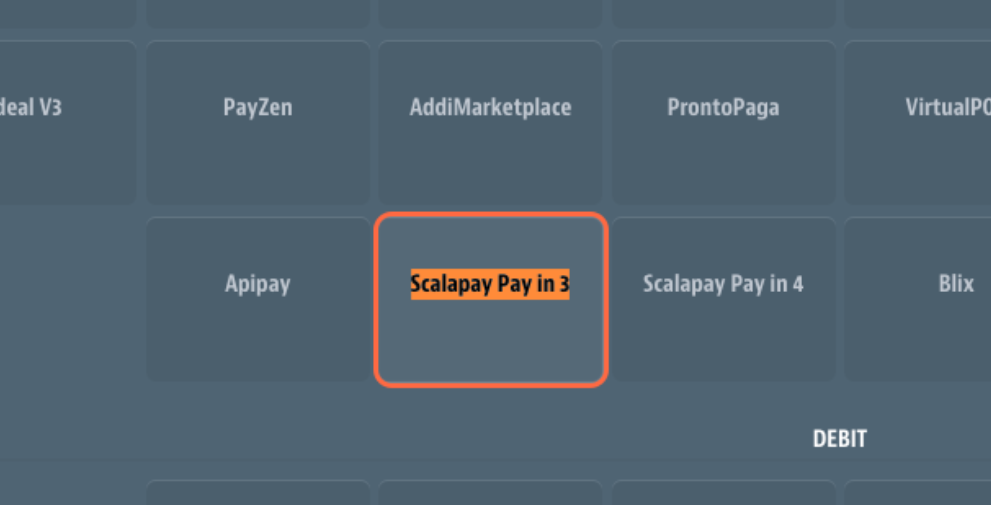
- Select Scalapay Pay in 3.
- Under Process with provider, choose Scalapay Connector or Scalapay Payments, depending on which one you created earlier.
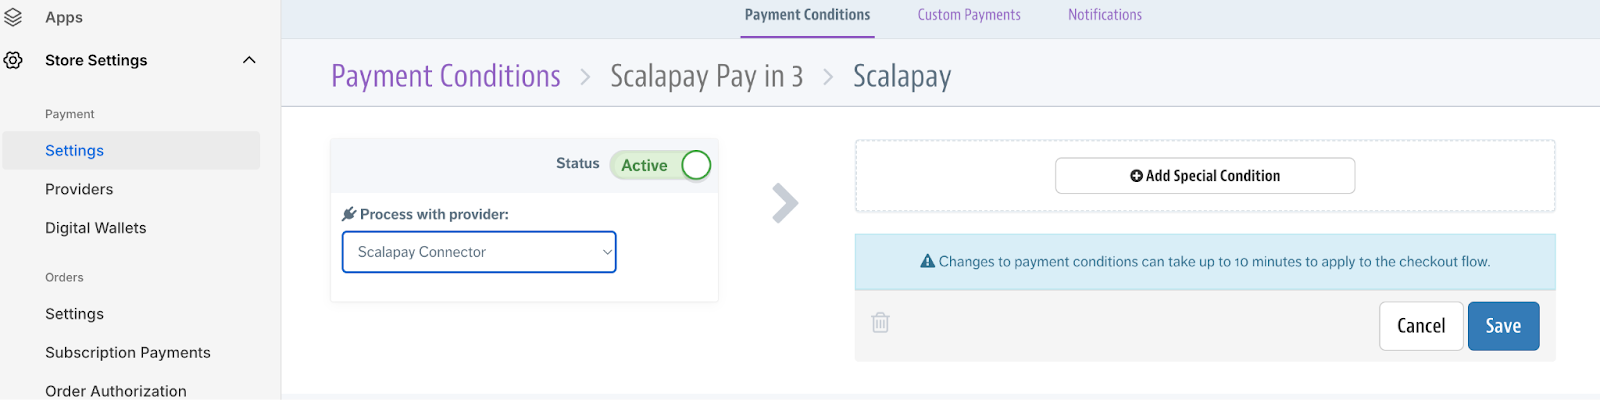
- Check the Active box.
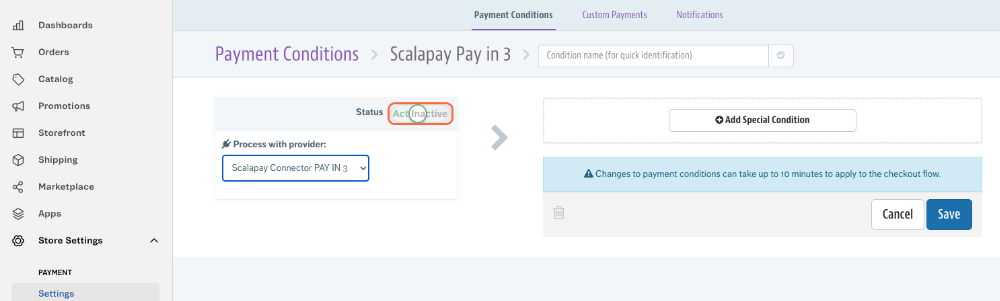
- Enter a custom name to easily identify the condition in the back office, for example Scalapay.
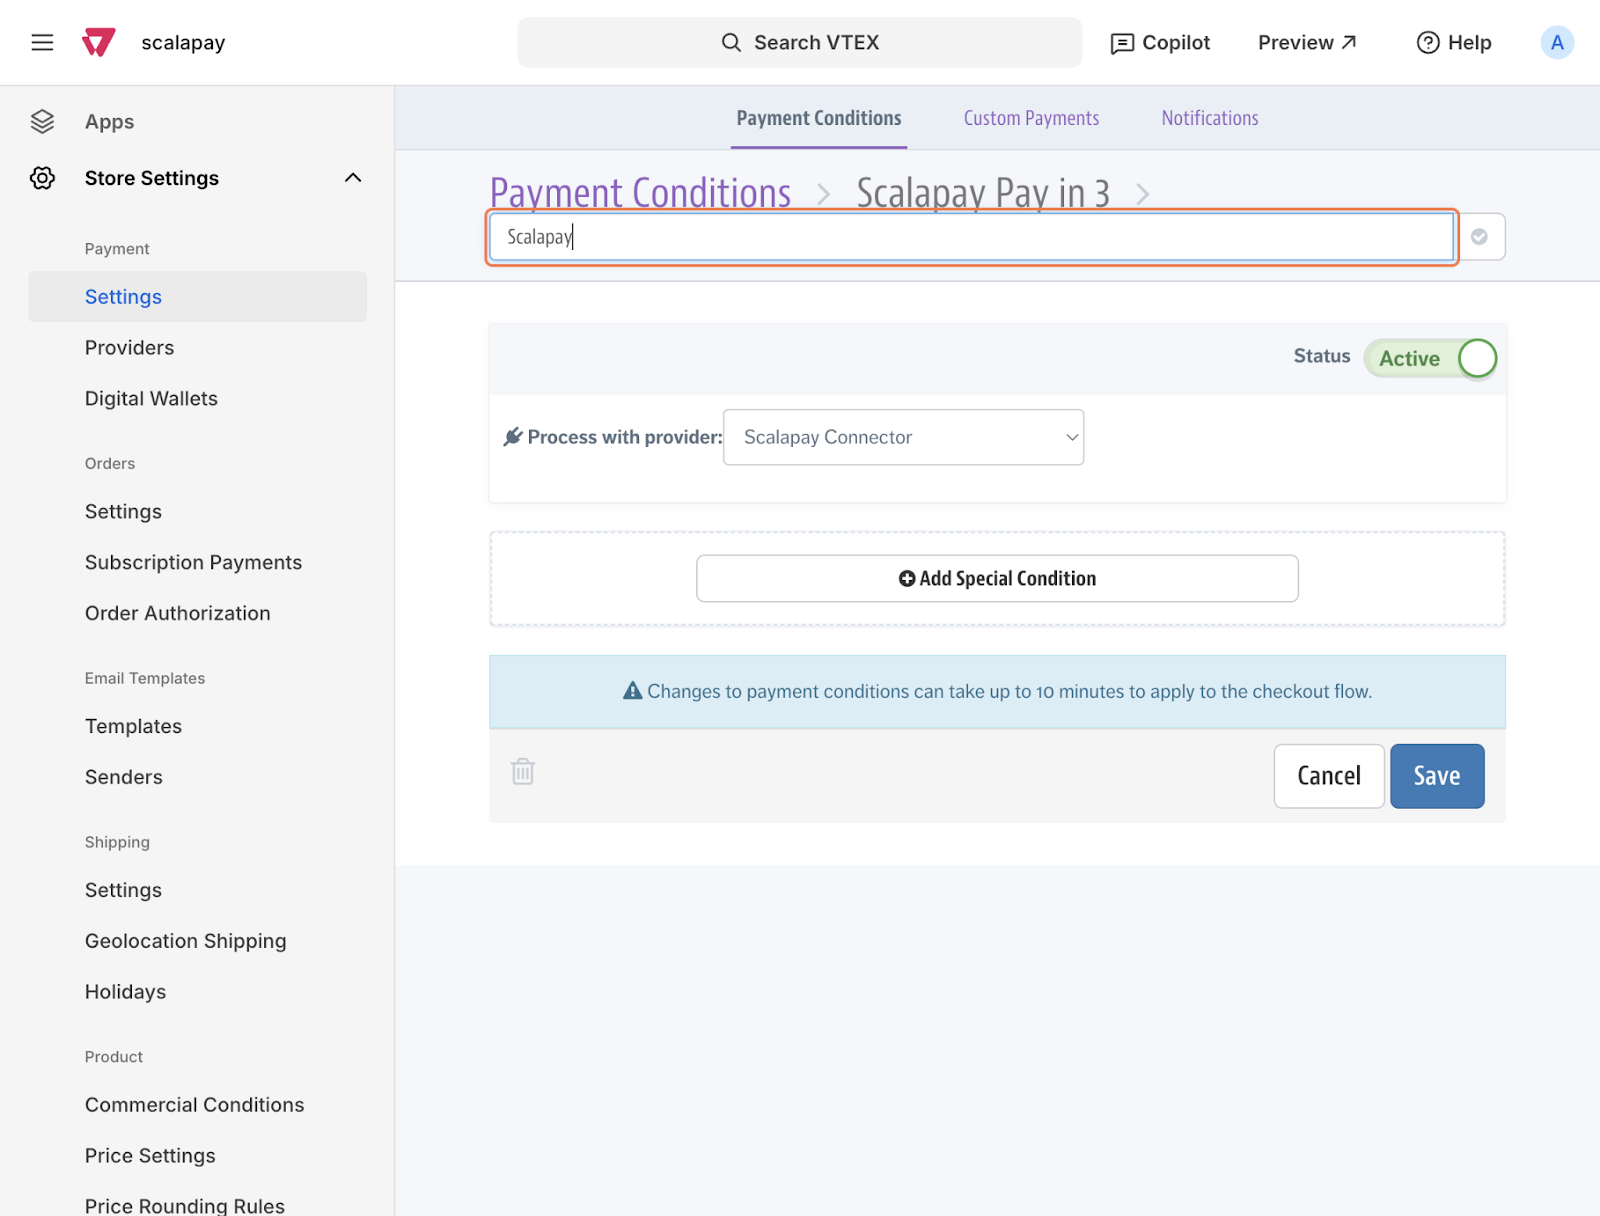
- Click Save to apply the configuration.
This will add Scalapay Pay in 3 to the payment methods shown on your checkout page.
If you prefer a more generic name, such as Scalapay, you can add a custom script or custom CSS to replace the Scalapay Pay in 3 title.
Based on the products enabled in your Scalapay account, for example Pay in 3 or Pay in 4, customers will be able to choose their preferred option after being redirected to the Scalapay checkout page.
For more details, see Change payment method names in checkout
Updated 4 months ago