
VTEX (new our plugin)
The integration of the Scalapay app is faster than ever!
Steps
Vtex installation consists of 2 mandatory steps:
PART 1: Checkout Payment section
PART 2: widget product page / cart page
PART 1 - CHECKOUT PAYMENT SECTION
BACKEND
You can integrate Scalapay by following these instructions
- Install
scalapay.scalapay-connectorin your account.
vtex install scalapay.scalapay-connector 1.0.x
- Then go to your back office and click on Apps
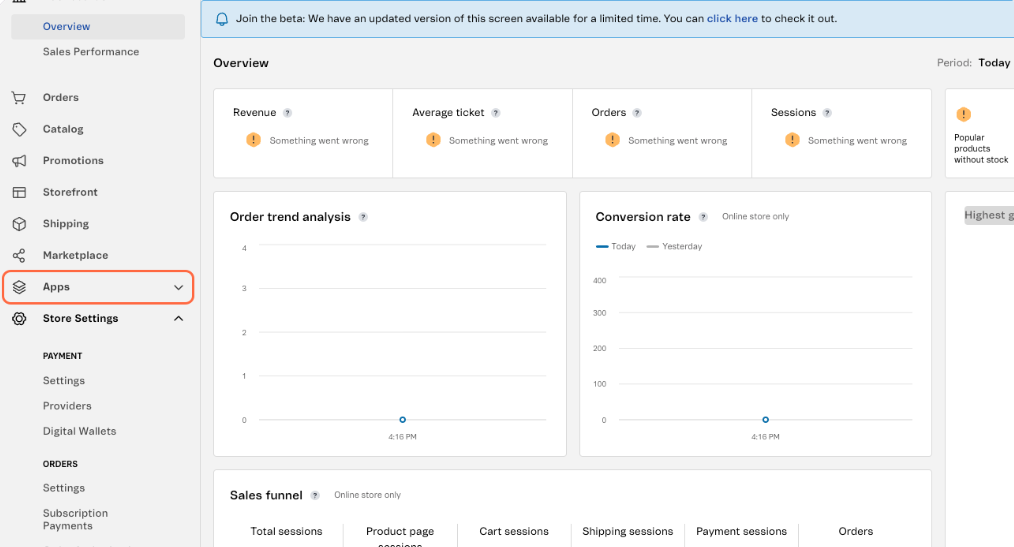
- Click on App Management
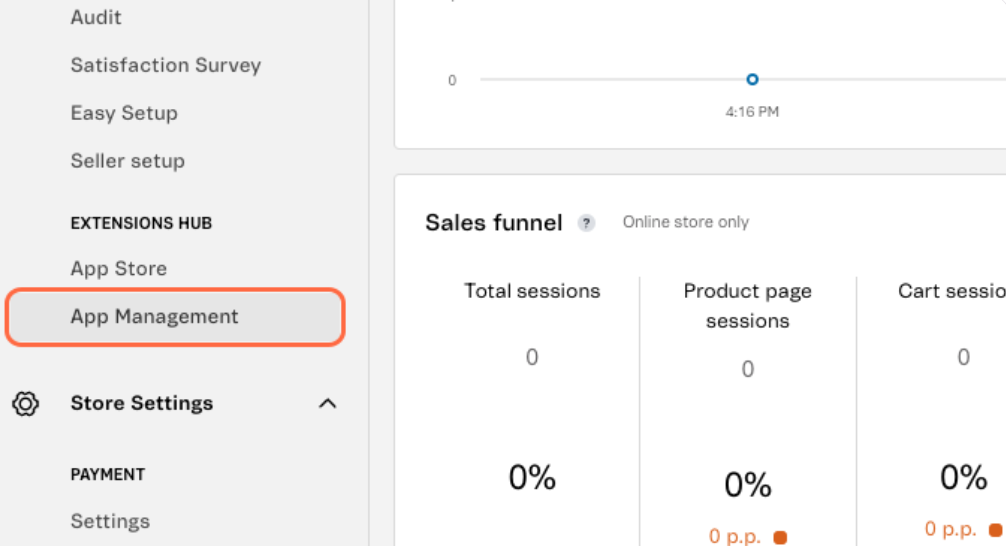
- Search for "Scalapay Connector" and Click on Settings

- Insert the Live API Key
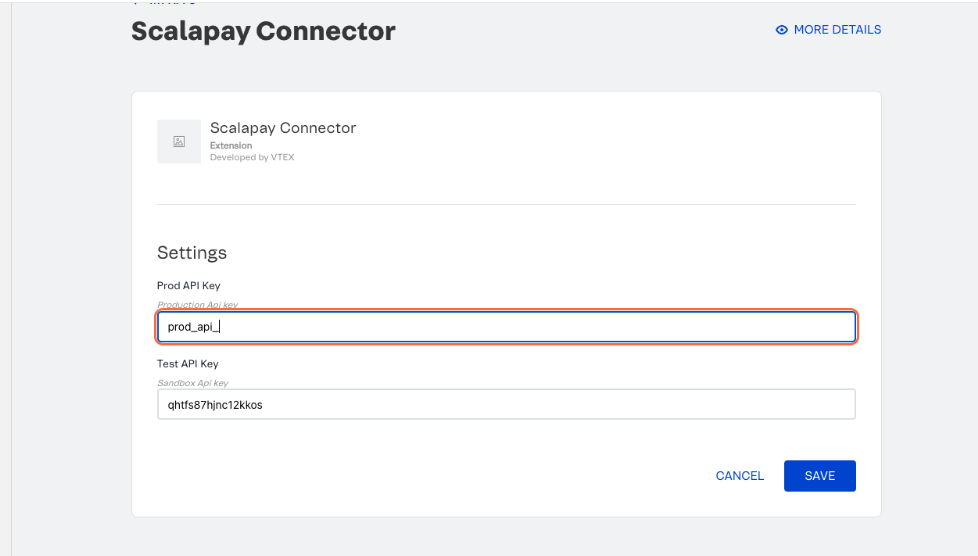
- Click "Save"
ATTENTION
How to find the api KEY live
- LOGIN to your Scalapay Partner Portal.
- Copy your LIVE API Key. In the 'Developer' section of your account, you can retrieve your production API key (starting with 'sp_').
Now go to your back office:
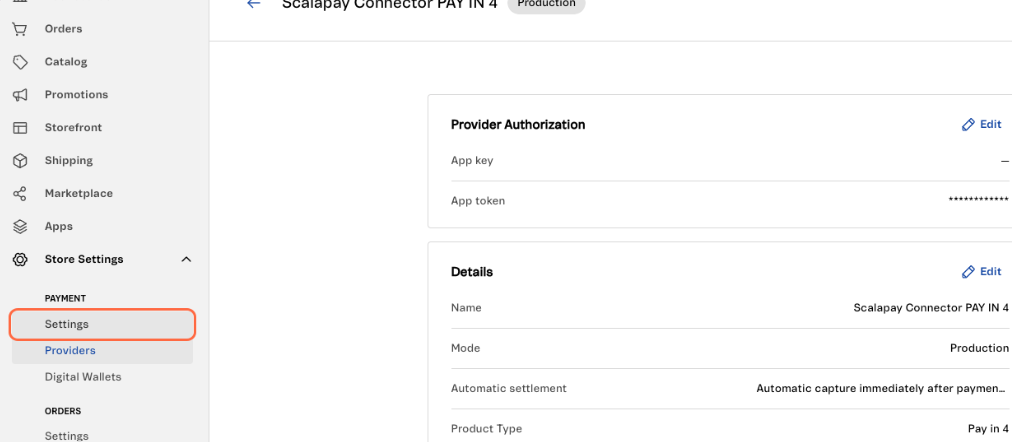
- In
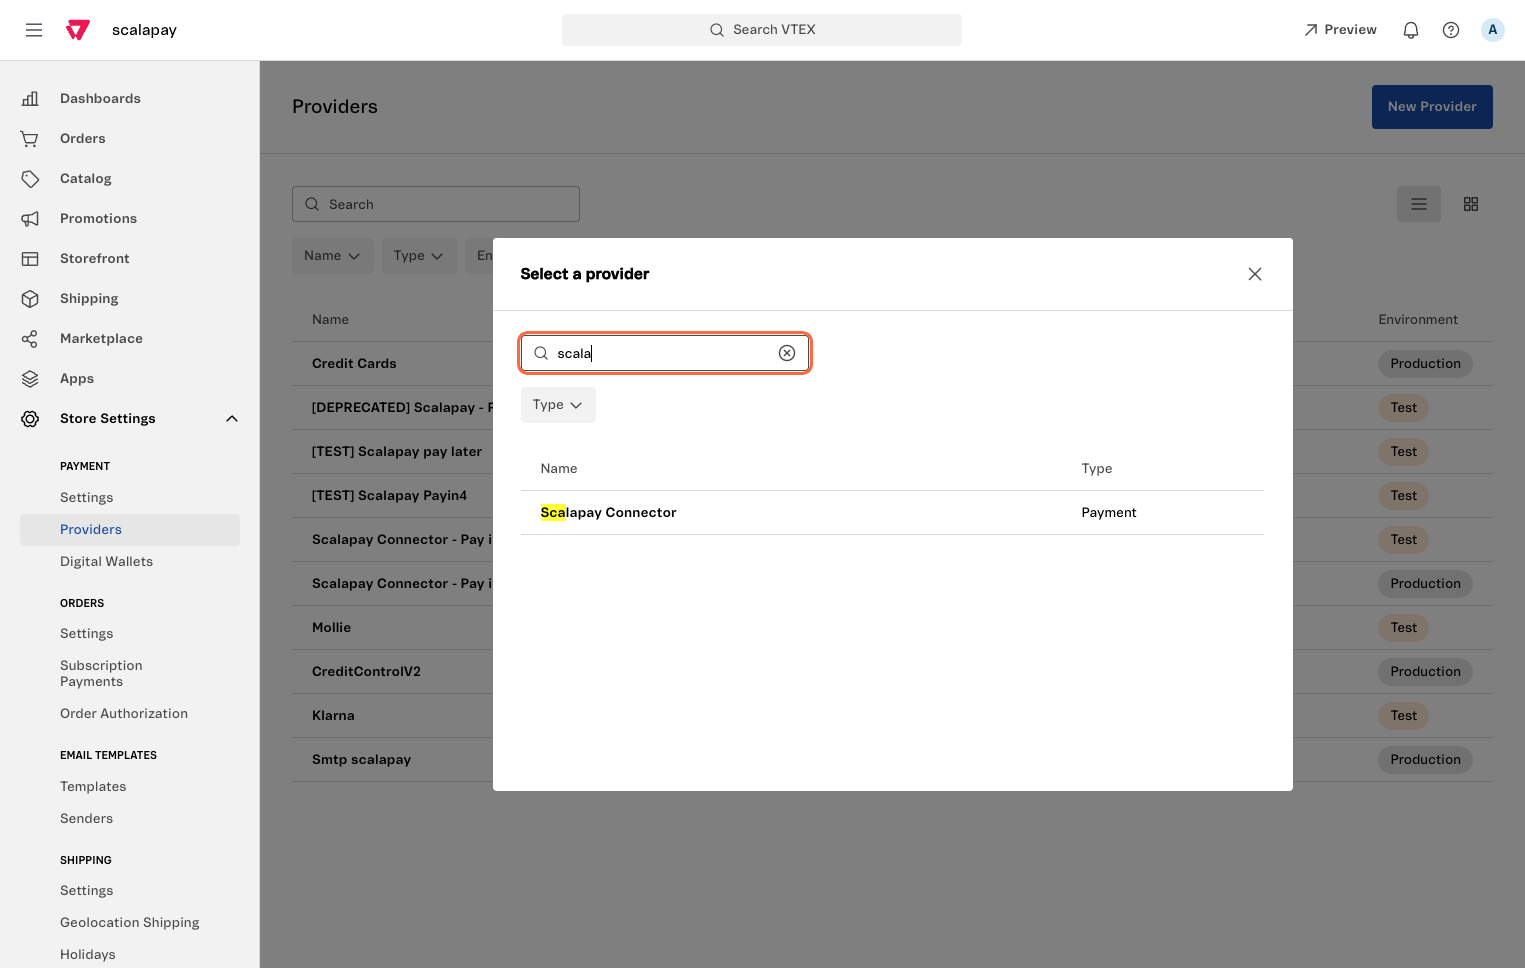
Store Settings/Payment/Providersclick on the buttonNew Provider
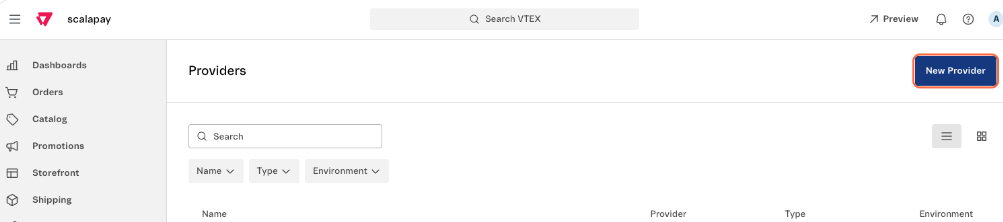
- Search for Scalapay Connector and add it.
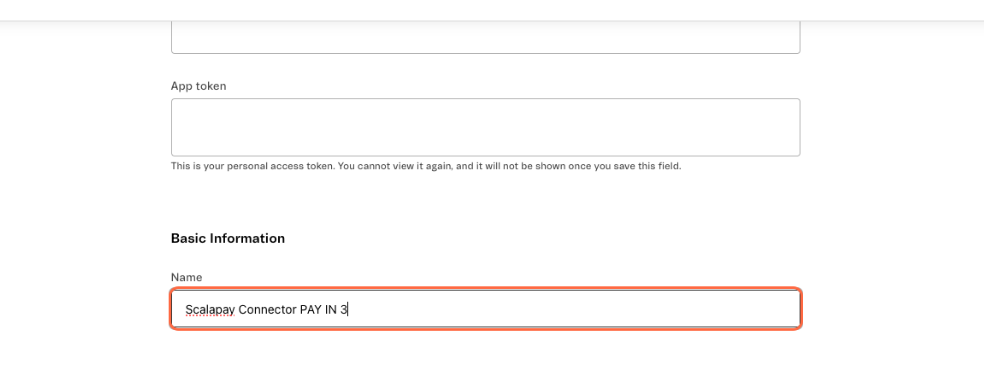
- Then to configure the provider:
- Enter the following name:
- pay in 3: "Scalapay Connector PAY IN 3"
- pay in 4: "Scalapay Connector PAY IN 4"
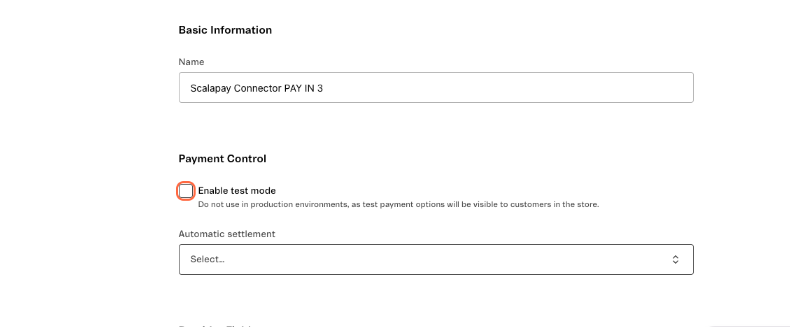
- Uncheck Enable test mode to set production mode
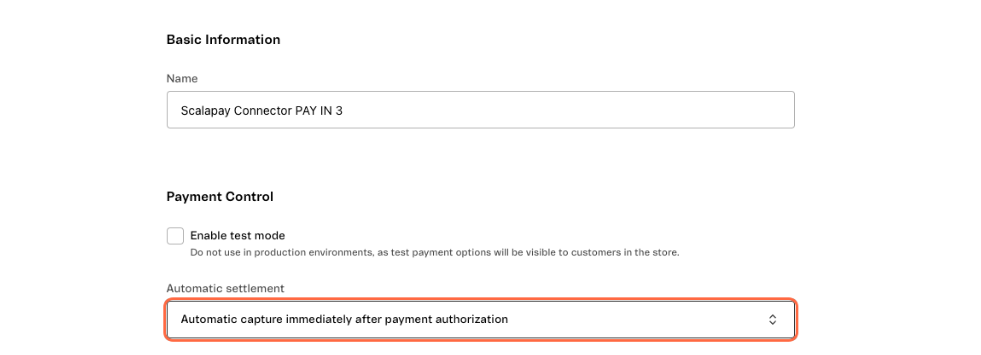
- Select Automatic capture immediately after payment authorization from Automatic settlement
- Select Pay in 3 from Product Type
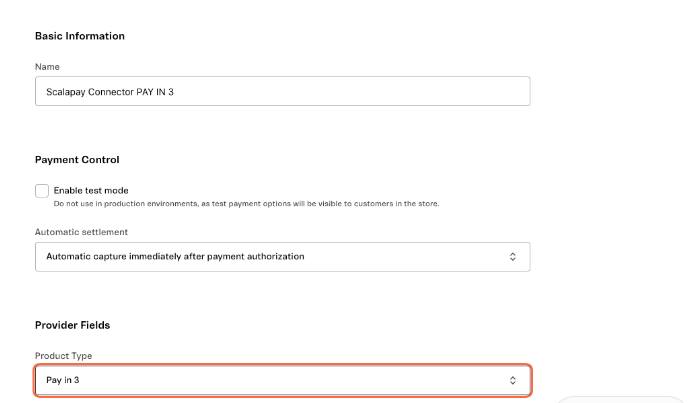
- Click on Save
WARNING
Repeat the previous steps to enable pay in 4
FRONTEND
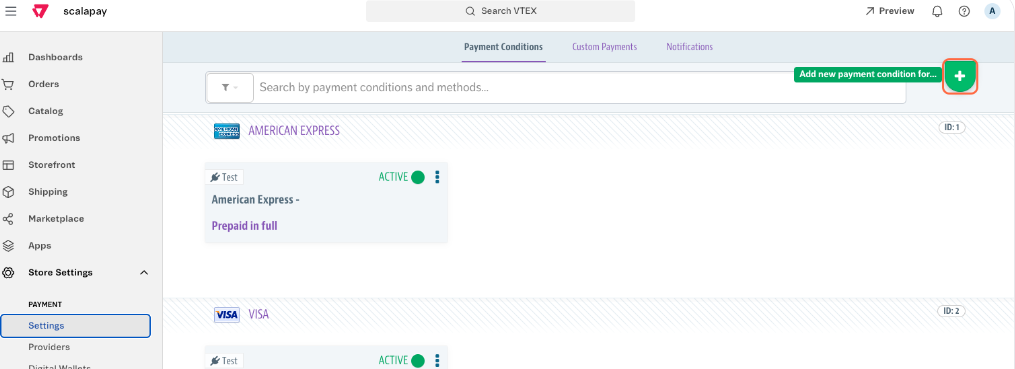
To configure the frontend payment conditions follow these steps:
- Go to Store Settings/Payment/Settings
- Click on "Add new payment condition for..."
- Click on Scalapay Pay in 3
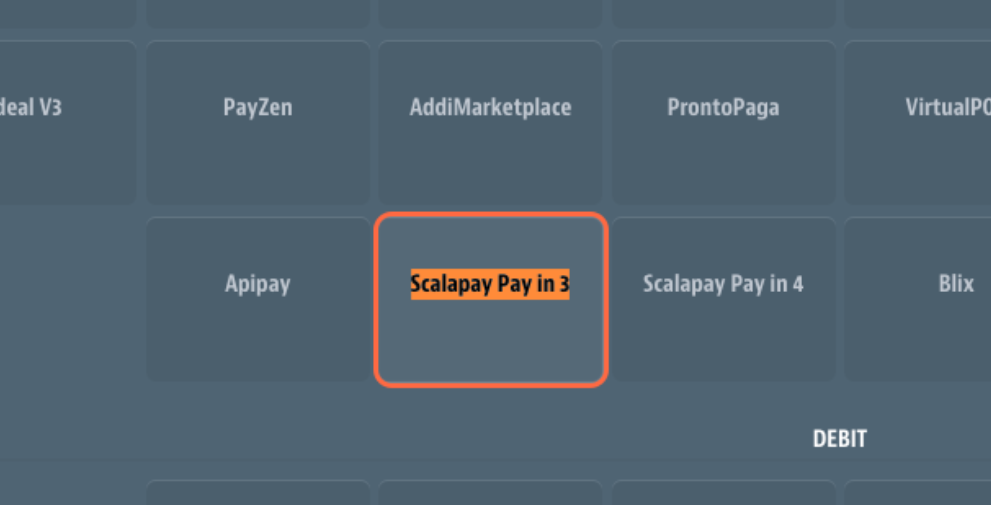
- Select "Scalapay Connector PAY IN 3 (created before)" from "Process with provider:"

- Check "Active"
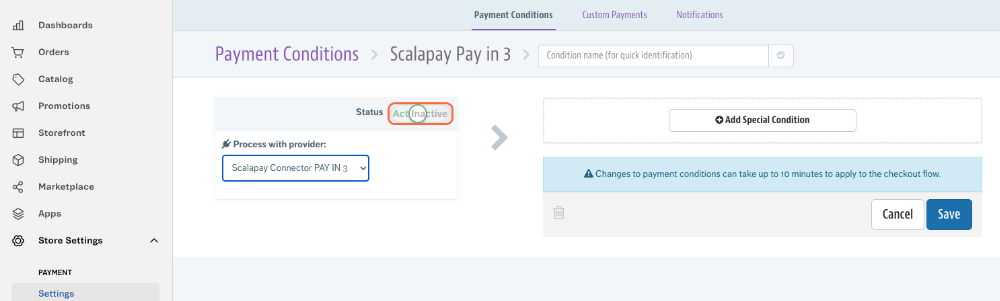
- Type a custom name
- "Pay in 3" for Pay in 3
- "Pay in 4" for Pay in 4
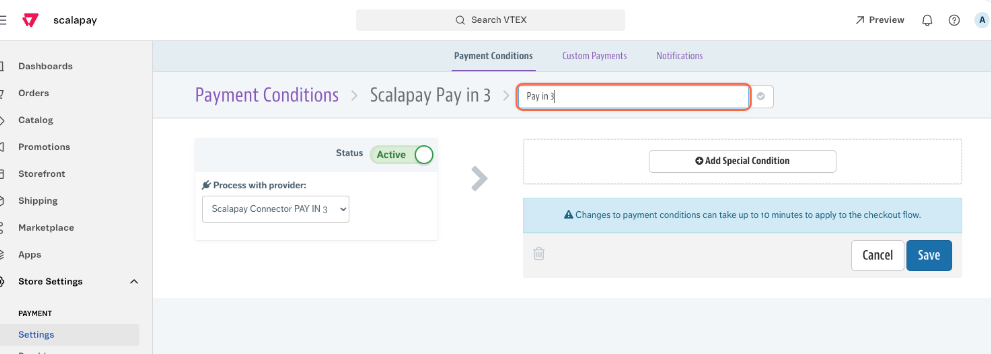
- Click on Save
WARNING
Repeat the previous steps to enable pay in 4
PART 2 - WIDGET (product page / cart page)
Download the app at this link
Follow the steps at this link to configure it
Updated 10 months ago