Plugin Installation & Configuration- OLD
Read these instructions to correctly configure Scalapay on your Prestashop 1.7 store
IMPORTANTOnce you have installed and configured the plugin, be sure
- to test all its functionalities (order flow, refund, Scalapay appeareance)
- to correctly insert the API key to go live
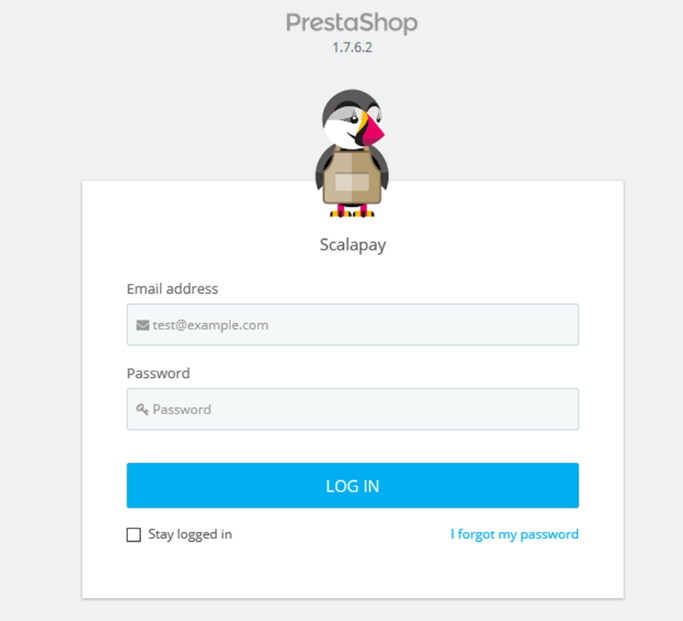
- Login at your admin panel , the URL should be yoursitename.com/adminurl/
-
After successfully login to backend admin, select from left navigation Module and services
-
On the module list page click on Upload a Module
-
Click on browse button and upload your scalapay.zip file
-
When you click on install now button plugin will be uploaded and installed then you will be redirected to Scalapay configuration page.
-
After installation, you will be redirected to Scalapay configuration page (see screenshot below). You will need to enable Scalapay module and save configuration using the save button at the bottom of the page
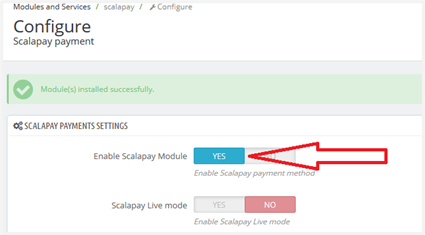
IMPORTANTBy default the test mode is enabled. You will need to enable the live after completing the testing.
Plugin Configuration
Our Scalapay plugin is thought and developed to be ready out-of-the-box. If you have any problems or issue configurating your plugin, please contact our support
To proceed with Scalapay module configuration, select from left navigation Module and services > Module and services
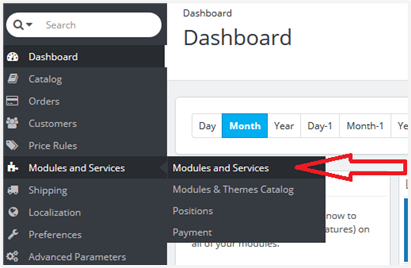
Then scroll down, search for Scalapay and select Configure

Payment settings
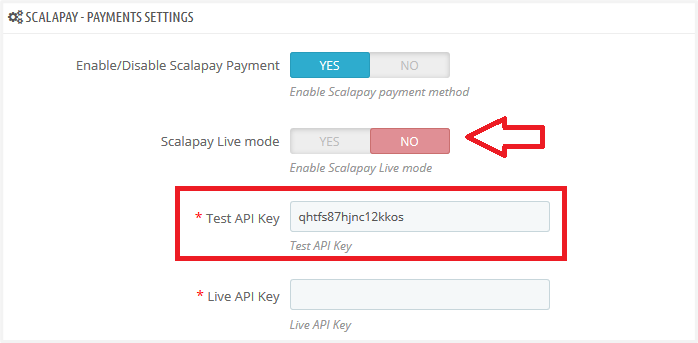
IMPORTANTBy default the test mode is enabled. You will need to enable the live after completing the testing.
Custom CSS
Sometimes external tags like div, p or span tags styles override our default styles. To handle these types of issues you can use the Custom CSS field to facilitate design processes. You can also use it to define inline style classes, such as font, size or alignment. These styles will apply for Scalapay description across all pages: product, cart and checkout pages.

Product and Cart Page settings
You could customize Scalapay description on Product and Cart pages in the following ways:
● Display as a text instead of a logo (not recommended)
● The text size
● The logo size and alignment
● The price color (not recommended according to Scalapay brand identity)
● The logo color (not recommended according to Scalapay brand identity)
● Text below widget (if you wish to display a text below the widget)
Product and Cart Page details
Follow these steps to configure the widget on the product page and cart. Find more information about our widget here.
The Price Selectors field is used to add class or combination of class pairs to get the final product price on which to apply Scalapay installments.
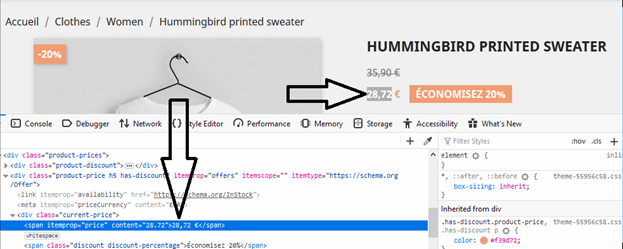
Inspect the price element to retrieve the correct price class name: current-price > span.
In the example case, Scalapay module will get the price within the span tag which is 28,72 and divide it by the number of installments to be displayed in the Scalapay installments description. You can also add multiple price selectors by separating them with commas.
Price
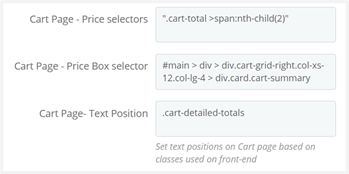
To select the correct price to use for the installment calculation add the appropriate selectors in the Product Page - Price Selectors box.
To add new price css selector add new selectors in order of priority to use. Find all your price selectors (normal price, special price etc) and paste them in the box, separated by comma.
Use the second box Product Page - Price Selector when prices are loaded by ajax. We recommend using the selector that doesn’t change dynamically.
Position
To change Scalapay widget position change the css selector in Product Page - Text Position text area. It will show Scalapay description after the css selector.
Checkout Page settings
By Default, Scalapay description is already set on the Checkout page. No changes are needed. However if you want to update the text you can simply go to module files located at modules/scalapay/translations/, edit the file and save after updating text.
Scalapay restriction settings
Set minimum and maximum Scalapay amount
In Scalapay plugin configuration, a minimum and maximum amount are set, as default, for displaying and authorizing Scalapay payment on your e-commerce platform.
The minimum amount for displaying the Scalapay plugin and accepting payments is set to 5€. This amount cannot be modified.
Set the maximum amount based on your contract.
Set the number of installments based on your contract.

Set Scalapay authorized countries and languages
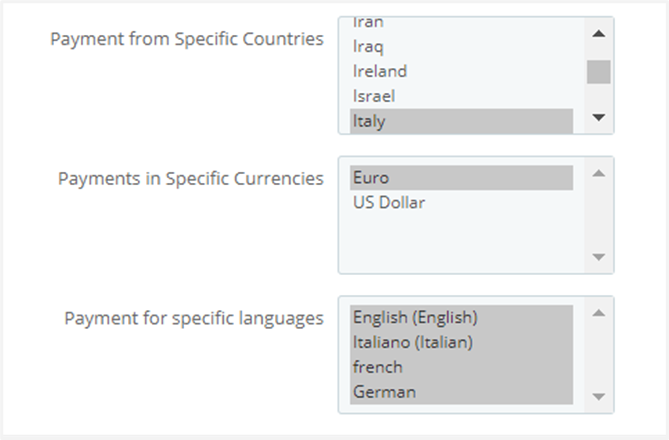
In Scalapay module configuration, you can set authorized countries, languages and currencies. For multi-selection, hold Ctrl button and select.
Be aware that:
● The only authorized countries are Austria, Belgium, Holland, Finland, France, Germany, Italy, Portugal, Spain. Contact your account manager for more information.
● The only authorized currency is Euro.
● Enable the languages according to the countries you operate in.
Scalapay configuration for One Page Checkout
One page checkout is an additional Prestashop module which removes extra default steps for an user when an order is placed. It has a specific configuration and settings for payment gateways as well as a specific page layout and shipping options.
Scalapay works by default with a one page checkout module but some additional configurations are required:
- Configure Scalapay payment method and manually add Scalapay logo.
- Set shipping options for Scalapay.
To do so, follow these steps:
- Login to site backend admin panel
- Select Modules from left navigation panel
- Select One Page Checkout
- Click on Payment > Pay methods as shown below:
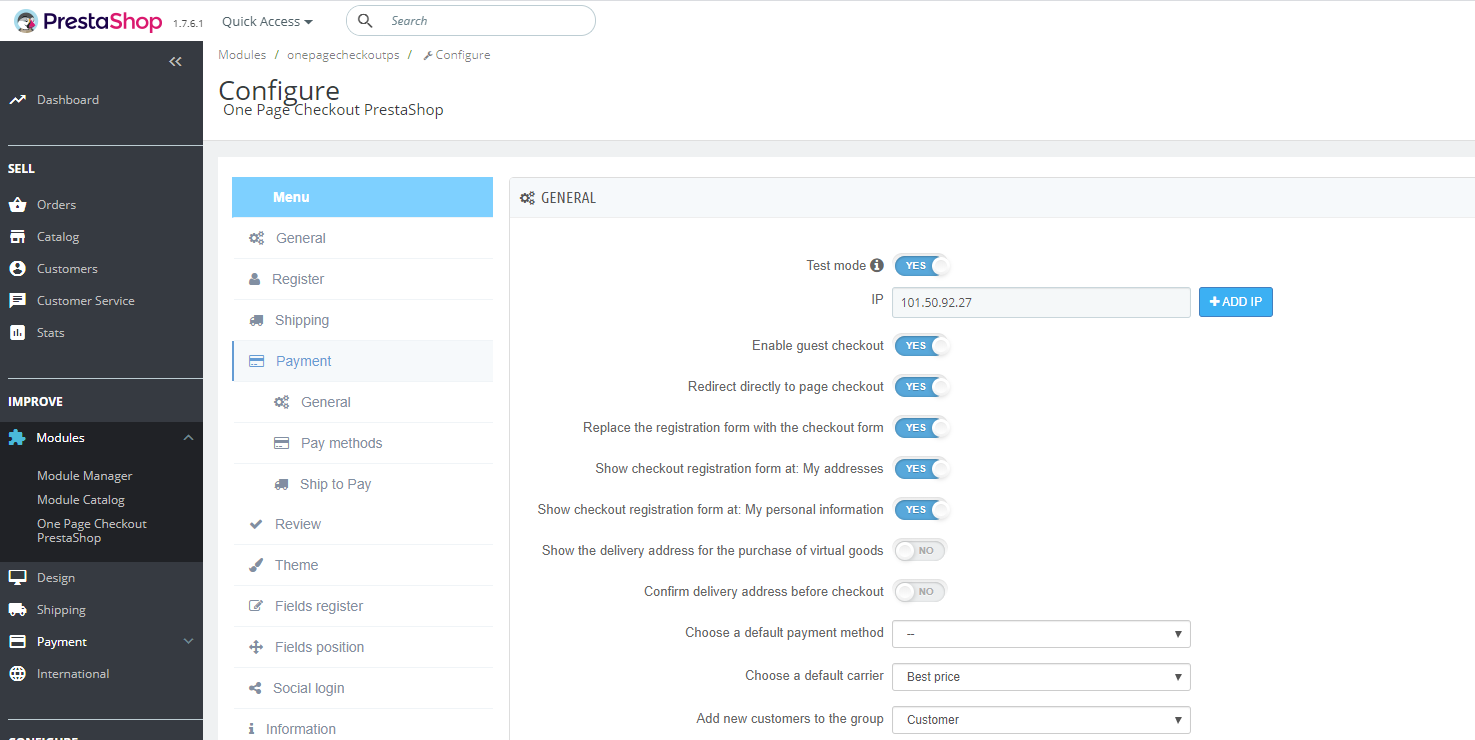
- The payment methods will be displayed on the right side.
You will then need to manually add the Scalapay logo, in order to enable and display Scalapay on the One Step Checkout page.
By italian policy, you need to show a specific logo to display Scalapay in the checkout. You can download this logo at the following link: Logo checkout Italia.
For all other countries, you will need to upload and display the standard Scalapay logo that can be downloaded at the following link: Logo standard
Default Scalapay title and description is already configured and will be displayed on your Checkout page front-end, so you don’t need to document and update Scalapay title and description.
- Once the logo has been uploaded, click on SAVE
- You will also need to add Scalapay as a payment option
Remember to check Scalapay for each shipping method or Scalapay will not be displayed on front-end:

Now it's time to test your plugin!
Updated 2 months ago
